“Every mountain top is within reach if you just keep climbing.”
– Barry Finlay
With its numerous natural wonders from thundering waterfalls to towering mountains, lush green meadows to giant sequoias, tranquil streams to swollen rivers, Yosemite National Park has always been a nature lover’s favorite destination. The tranquility of it transports us to a different world and the solitude of it makes us feel the peace within. Yosemite is one place where we go frequently, never fail to discover something of excitement every single time and come back with cherished memories.
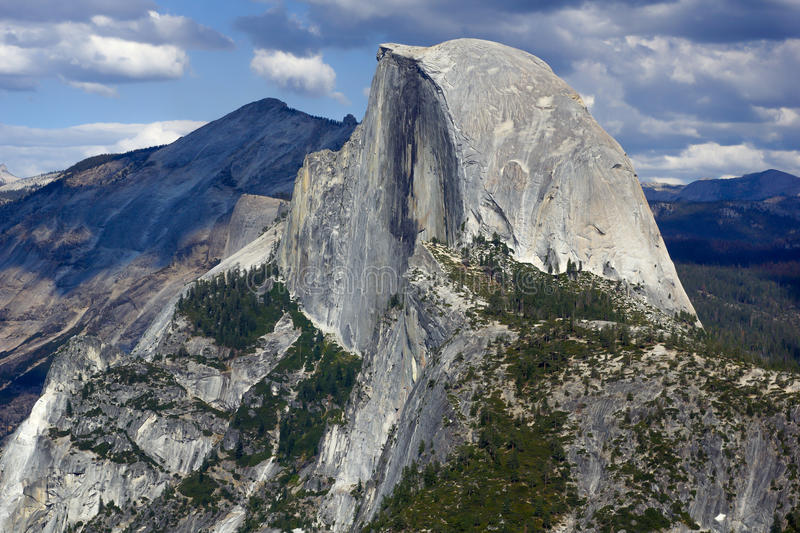
Out of Yosemite’s many wonders, one iconic rock formation that stands out tall and inviting is the magnificent Half Dome at about 5000 ft from the valley floor and hiking or climbing to its top is any adventure seeker’s dream. This dream came true to me recently and this blog is to share my experience with you all with some tips that you may find useful if you plan on doing this hike.
Quick links for easy navigation:
About Half Dome trail
The Half Dome hike
Training for Half Dome hike
Gear and what to bring on the hike
Some useful links to help with planning
About Half Dome Trail
Considered as one of the most dangerous hikes, many make use of the cables as handholds to ascend the final 400 ft of the dome. Due to its enormous popularity in recent years, the national park system requires that one has to secure a permit in advance issued via a lottery system to make use of the cables. They could be secured during the preseason lottery that is open in March of every year or via daily lottery two days before the hike during which the unused or canceled permits get released. Some prefer to attempt the hike to the dome over two or more days for which a backpackers permit is required. More details about permits and how to apply can be found here.
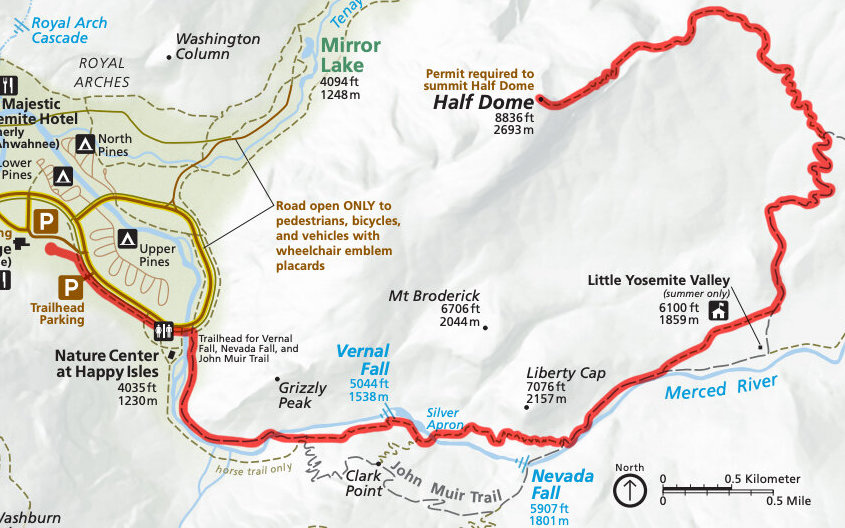
Being a popular trail, you most likely will encounter quite a few fellow hikers during the hike. We opted to do it on a Friday to avoid the weekend crowd. August and September in general get fewer crowds compared to early summer months. Though there are many ways to reach the dome, we chose the most popular one of all, the Half Dome trail from Happy Isles trailhead/shuttle bus stop.
Mist trail -> Vernal Falls -> Nevada Falls -> Top of Nevada Falls -> Little Yosemite Valley -> Sub Dome -> Dome
On the way back some choose to go back the same way they went up and some choose the John Muir Trail from the top of Nevada Falls which is about 1.5 miles longer and less strenuous but you get to enjoy a different view of the valley.
Trail: Half Dome Trail
Total distance: 16.4 miles out and back
Average time to hike: 12 hours
Total elevation: 8846 feet
Net elevation gain from Yosemite Valley: 5318 feet
Difficulty: Strenuous
The Half Dome Hike
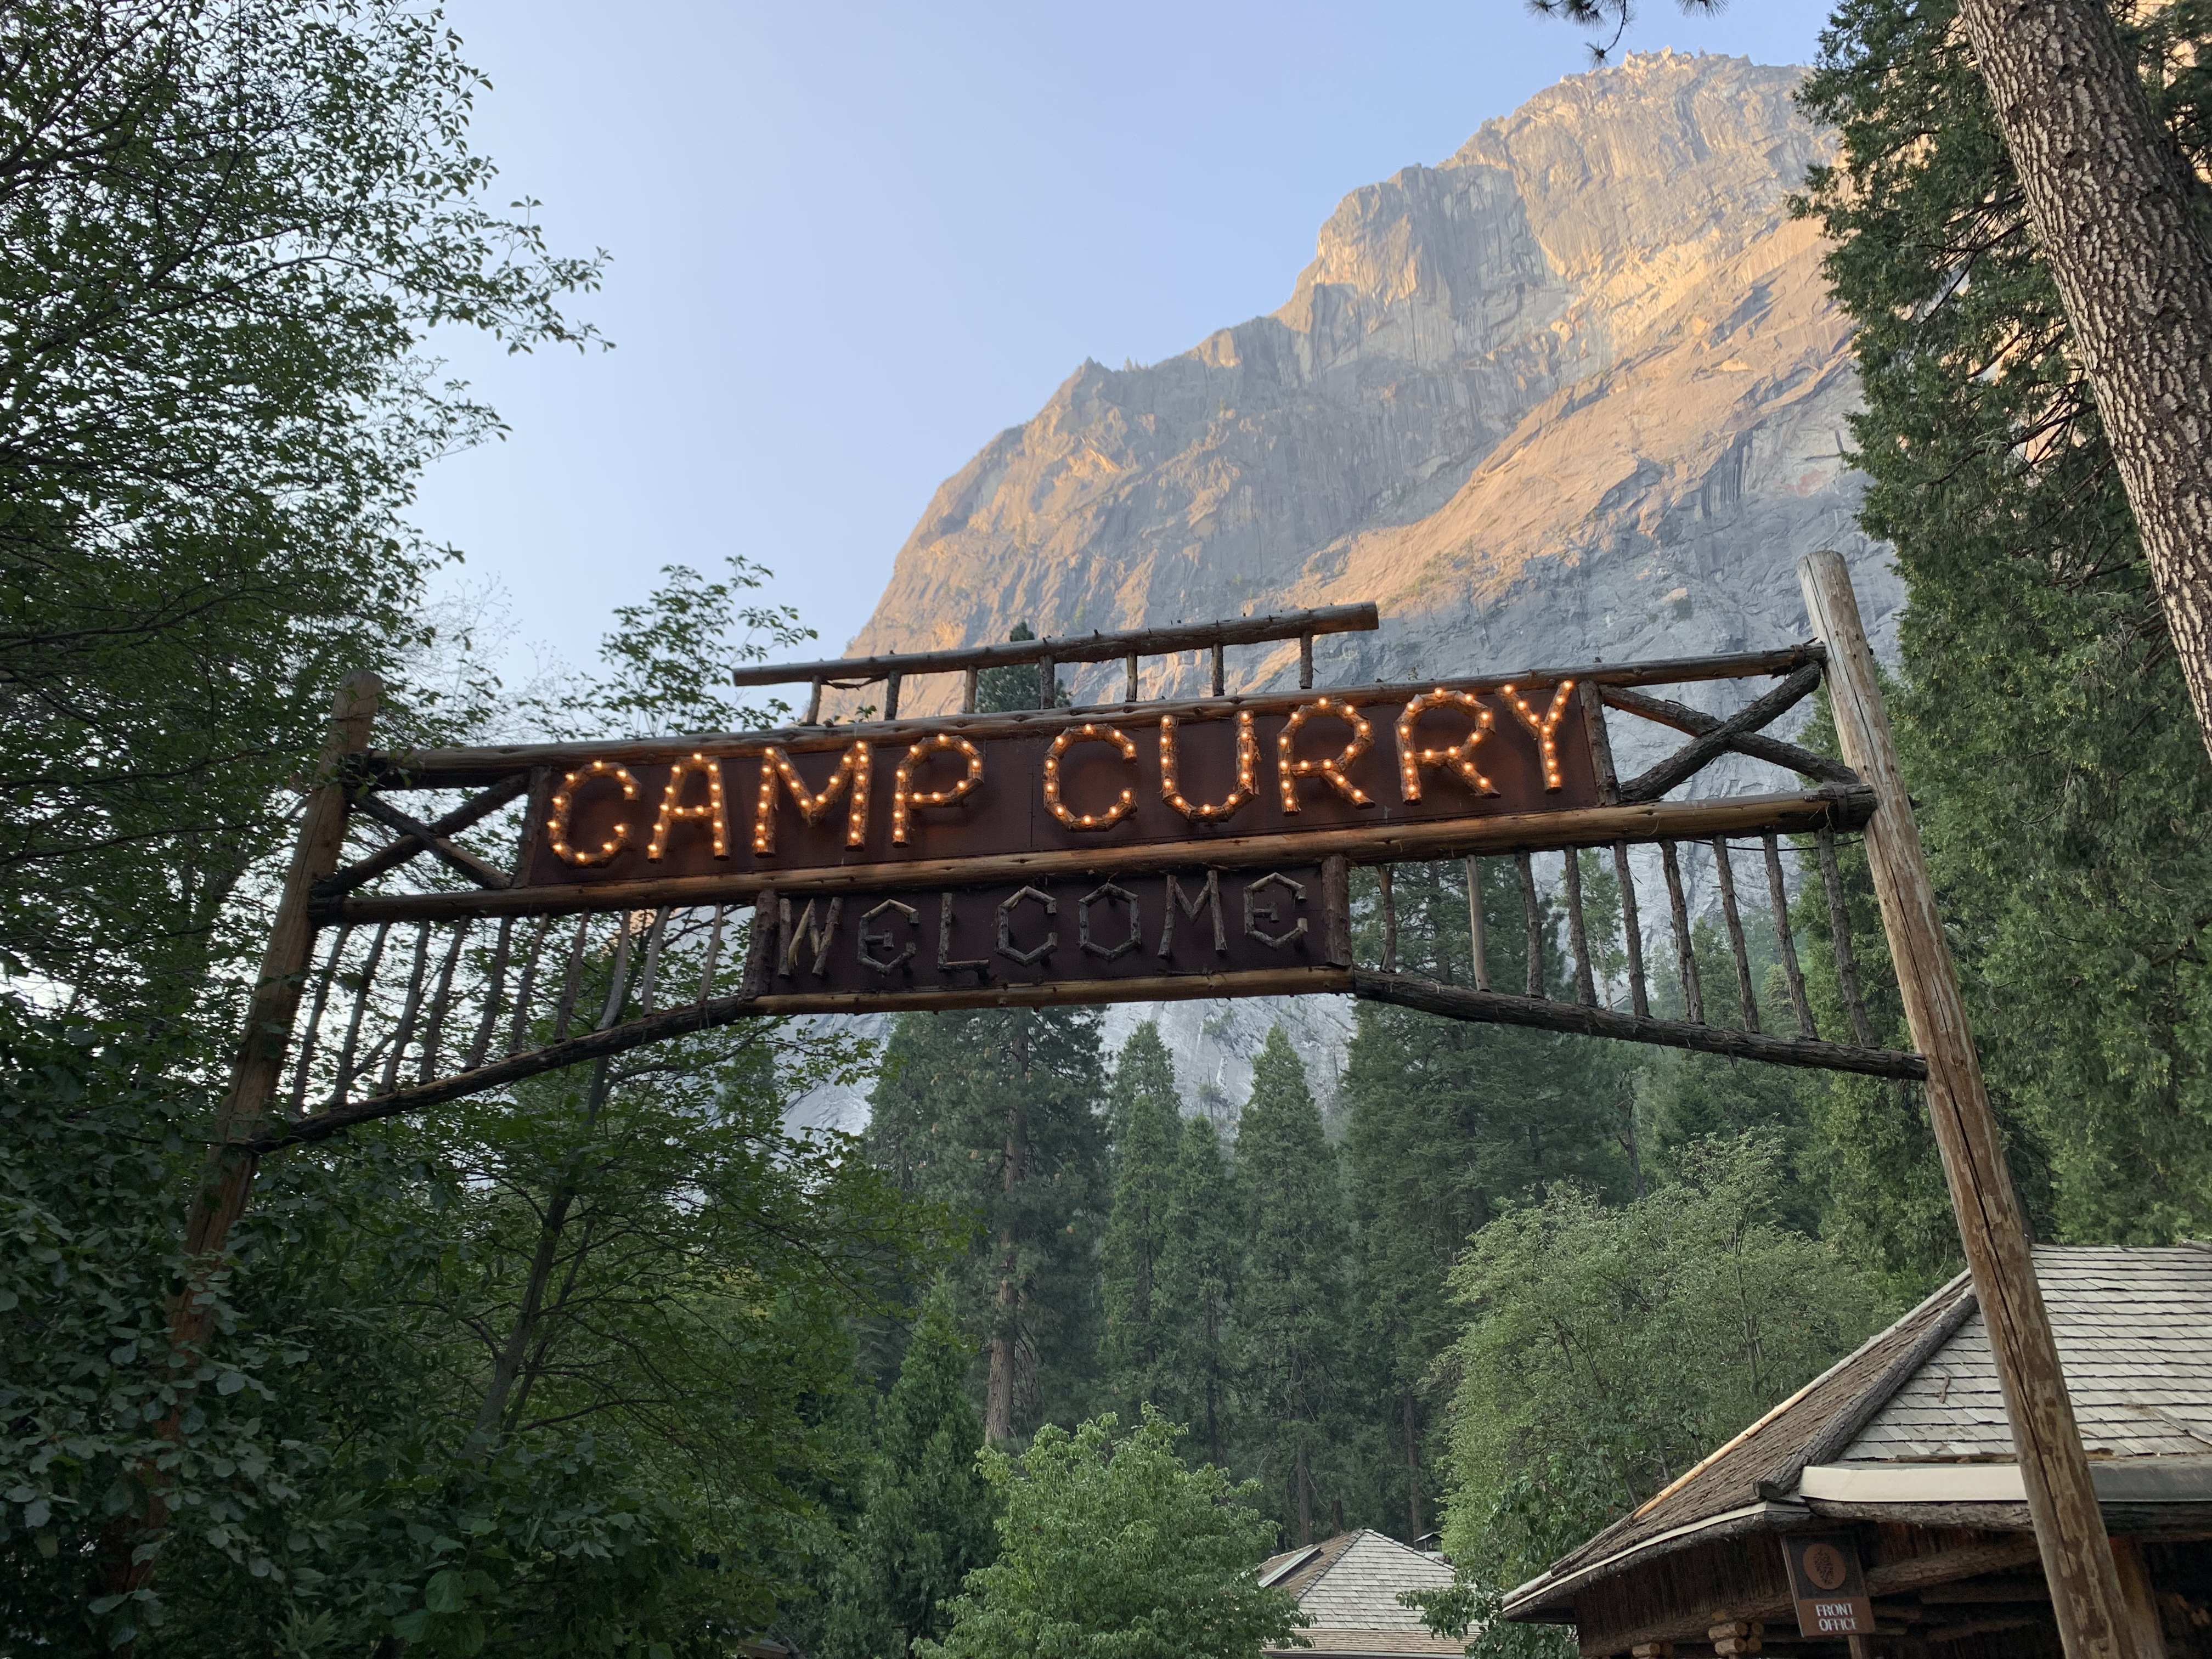
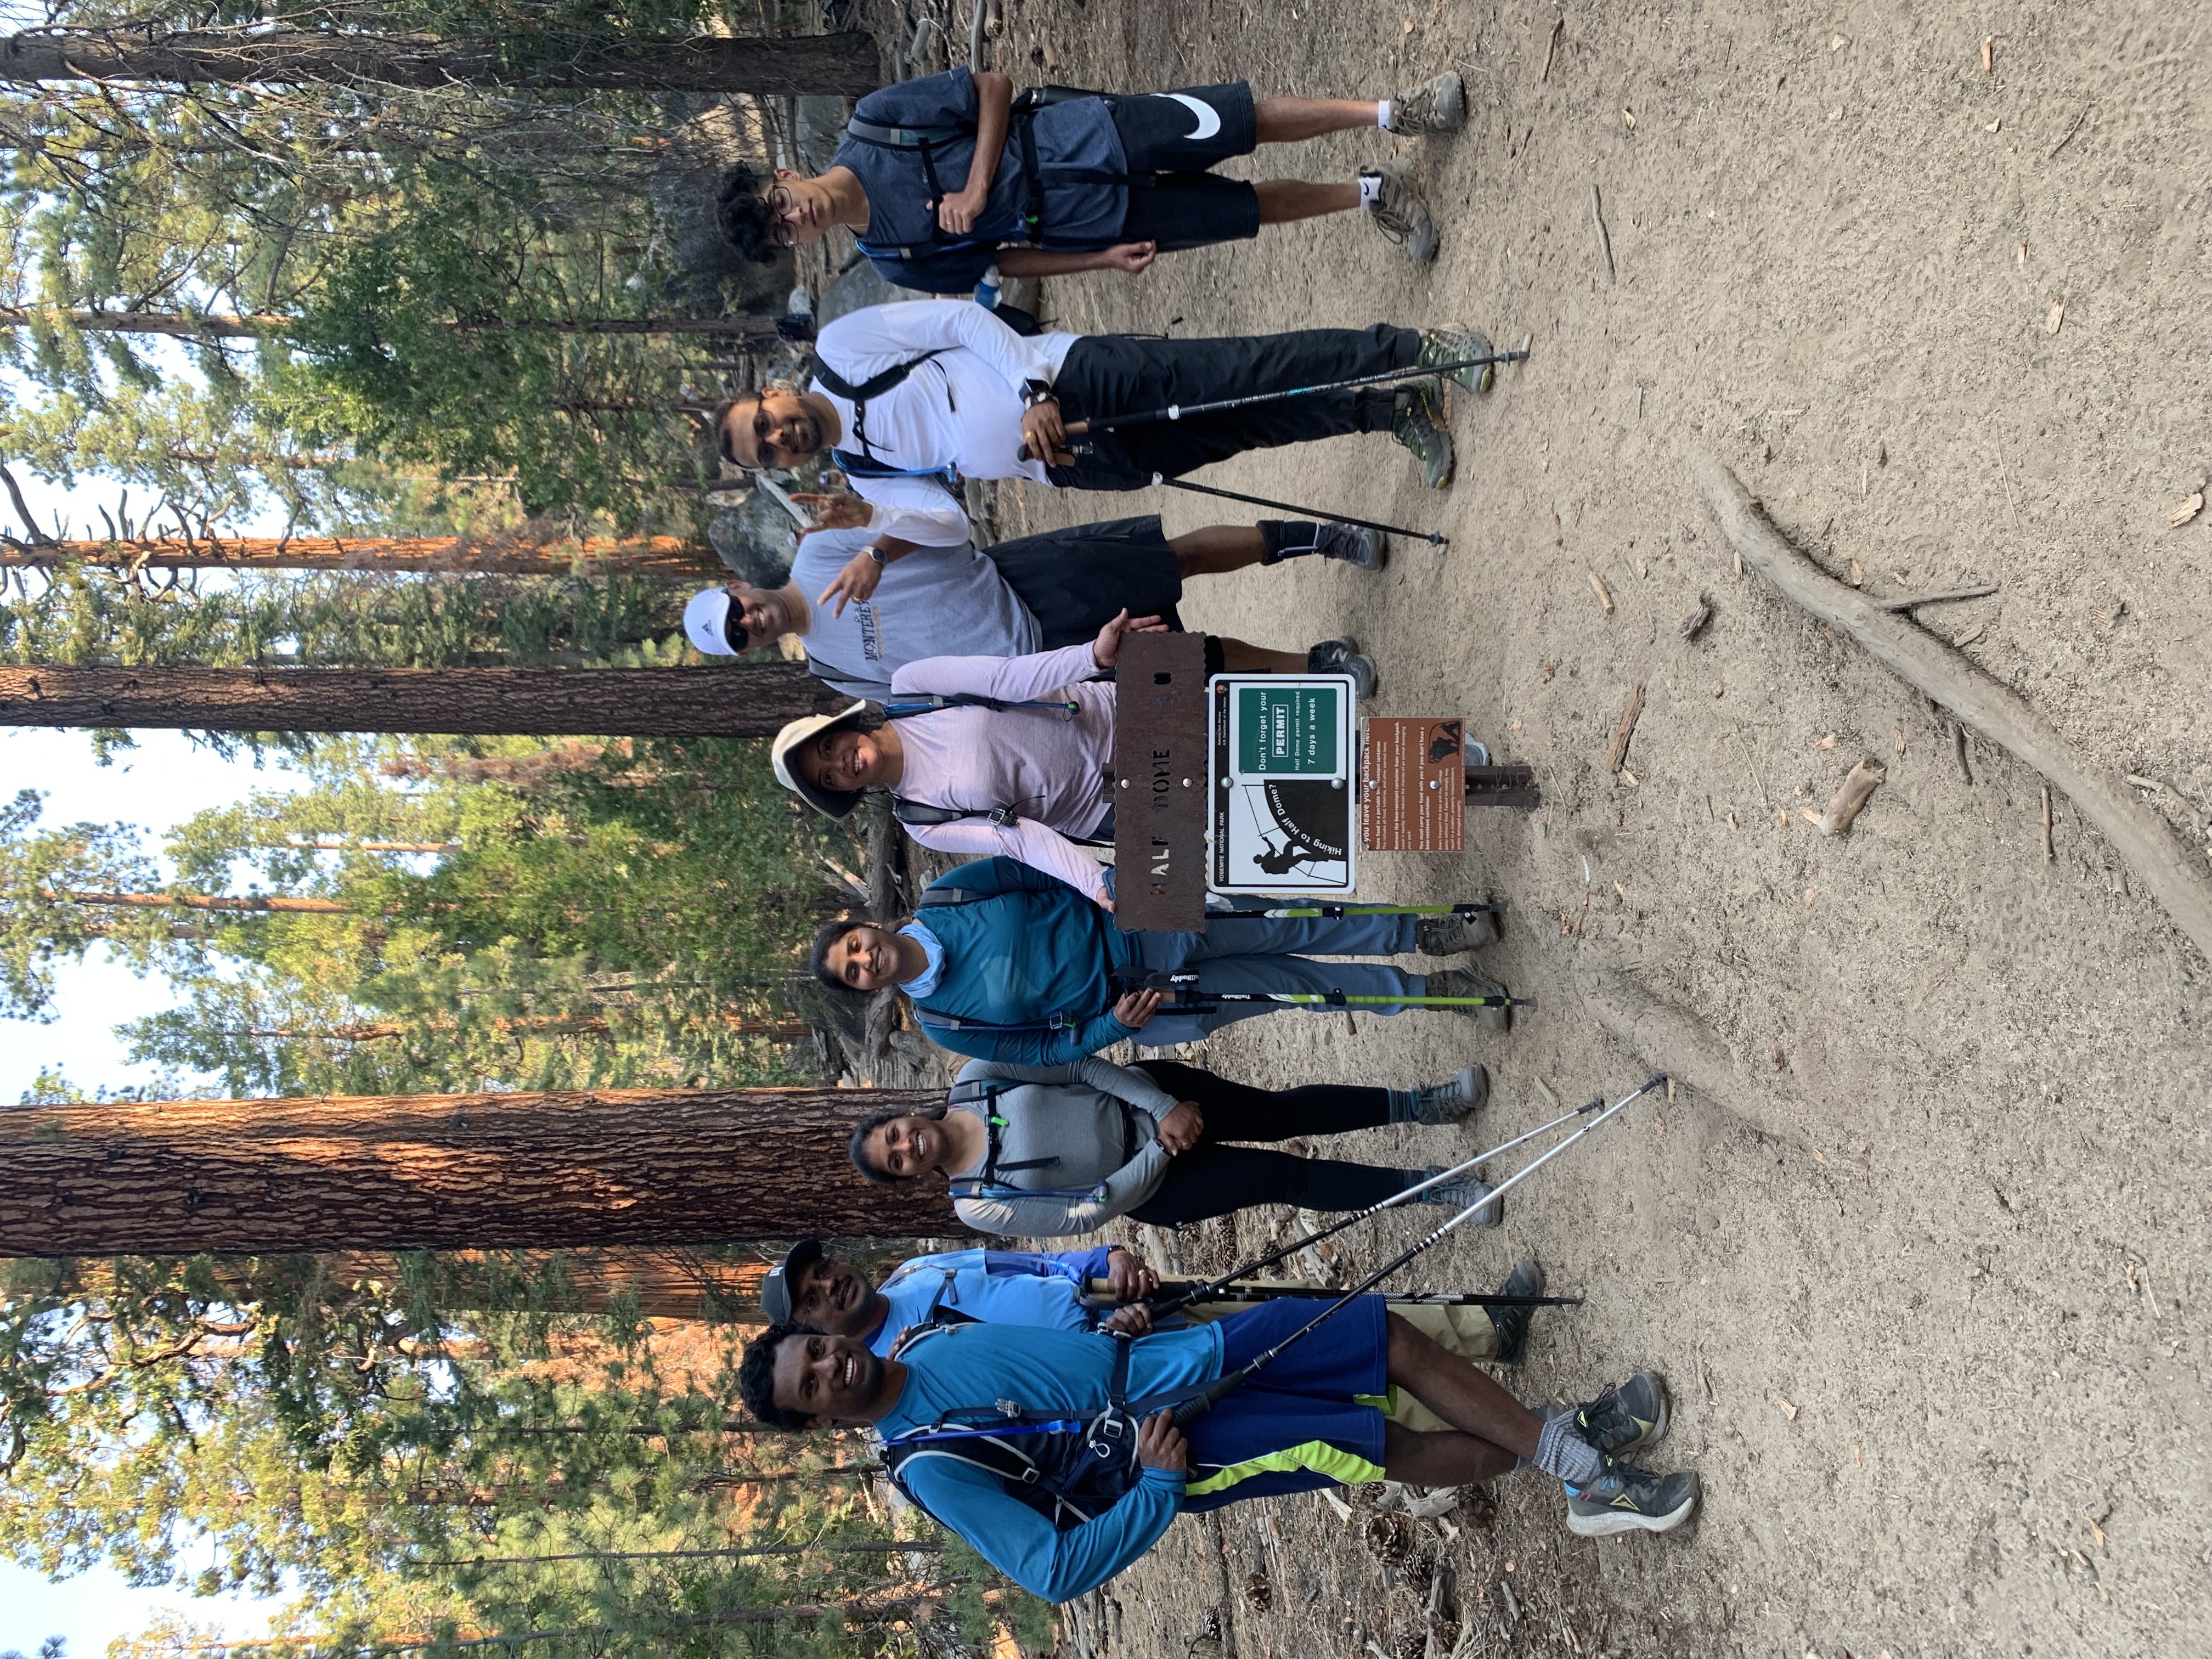
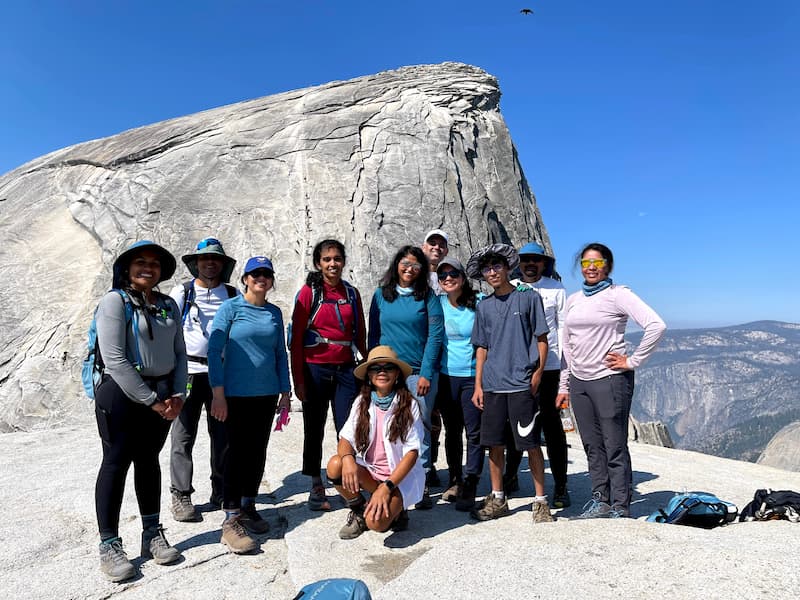
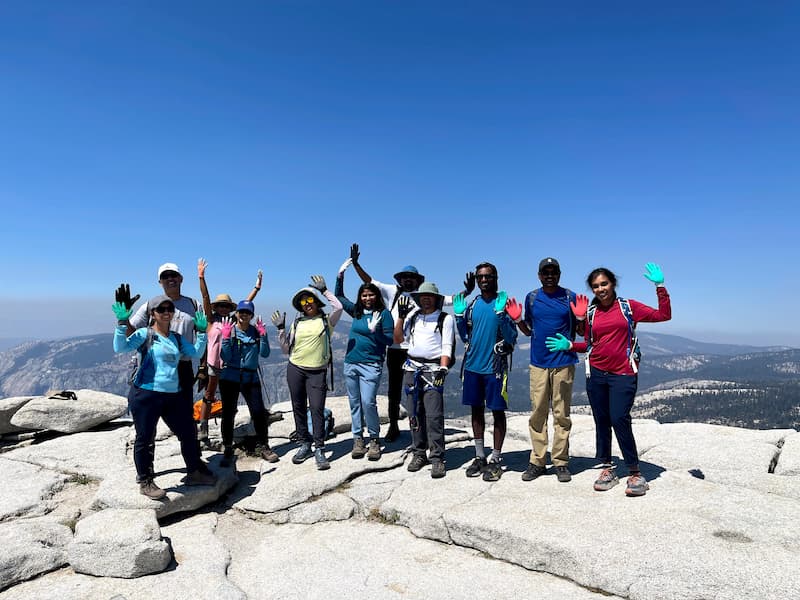
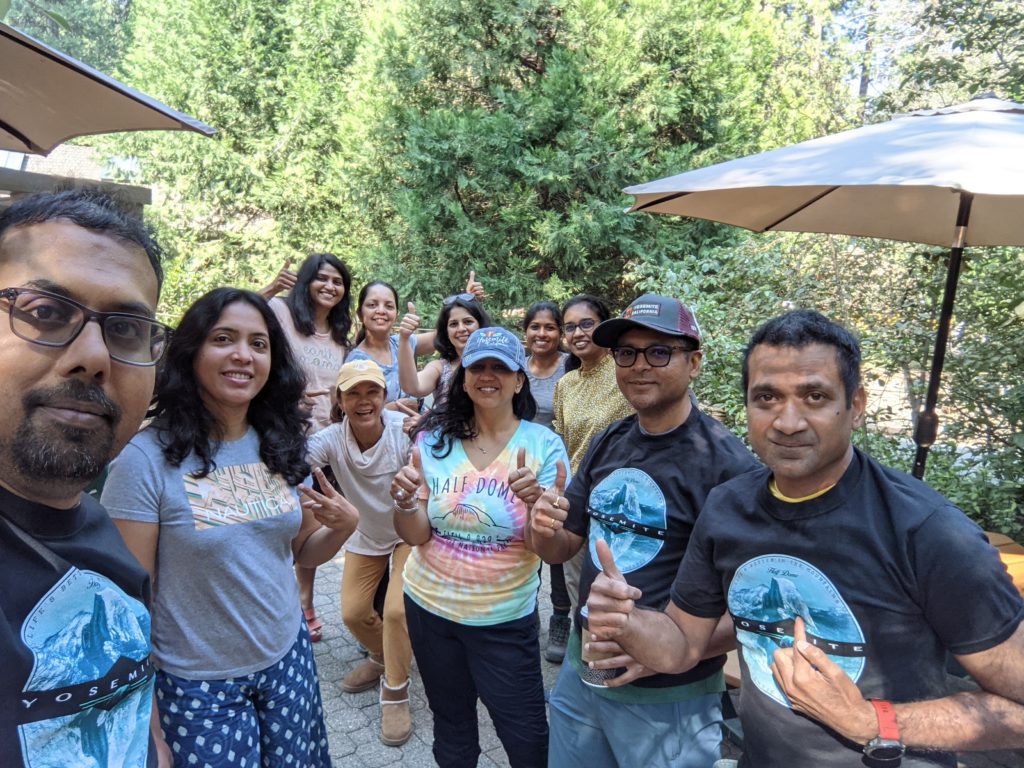
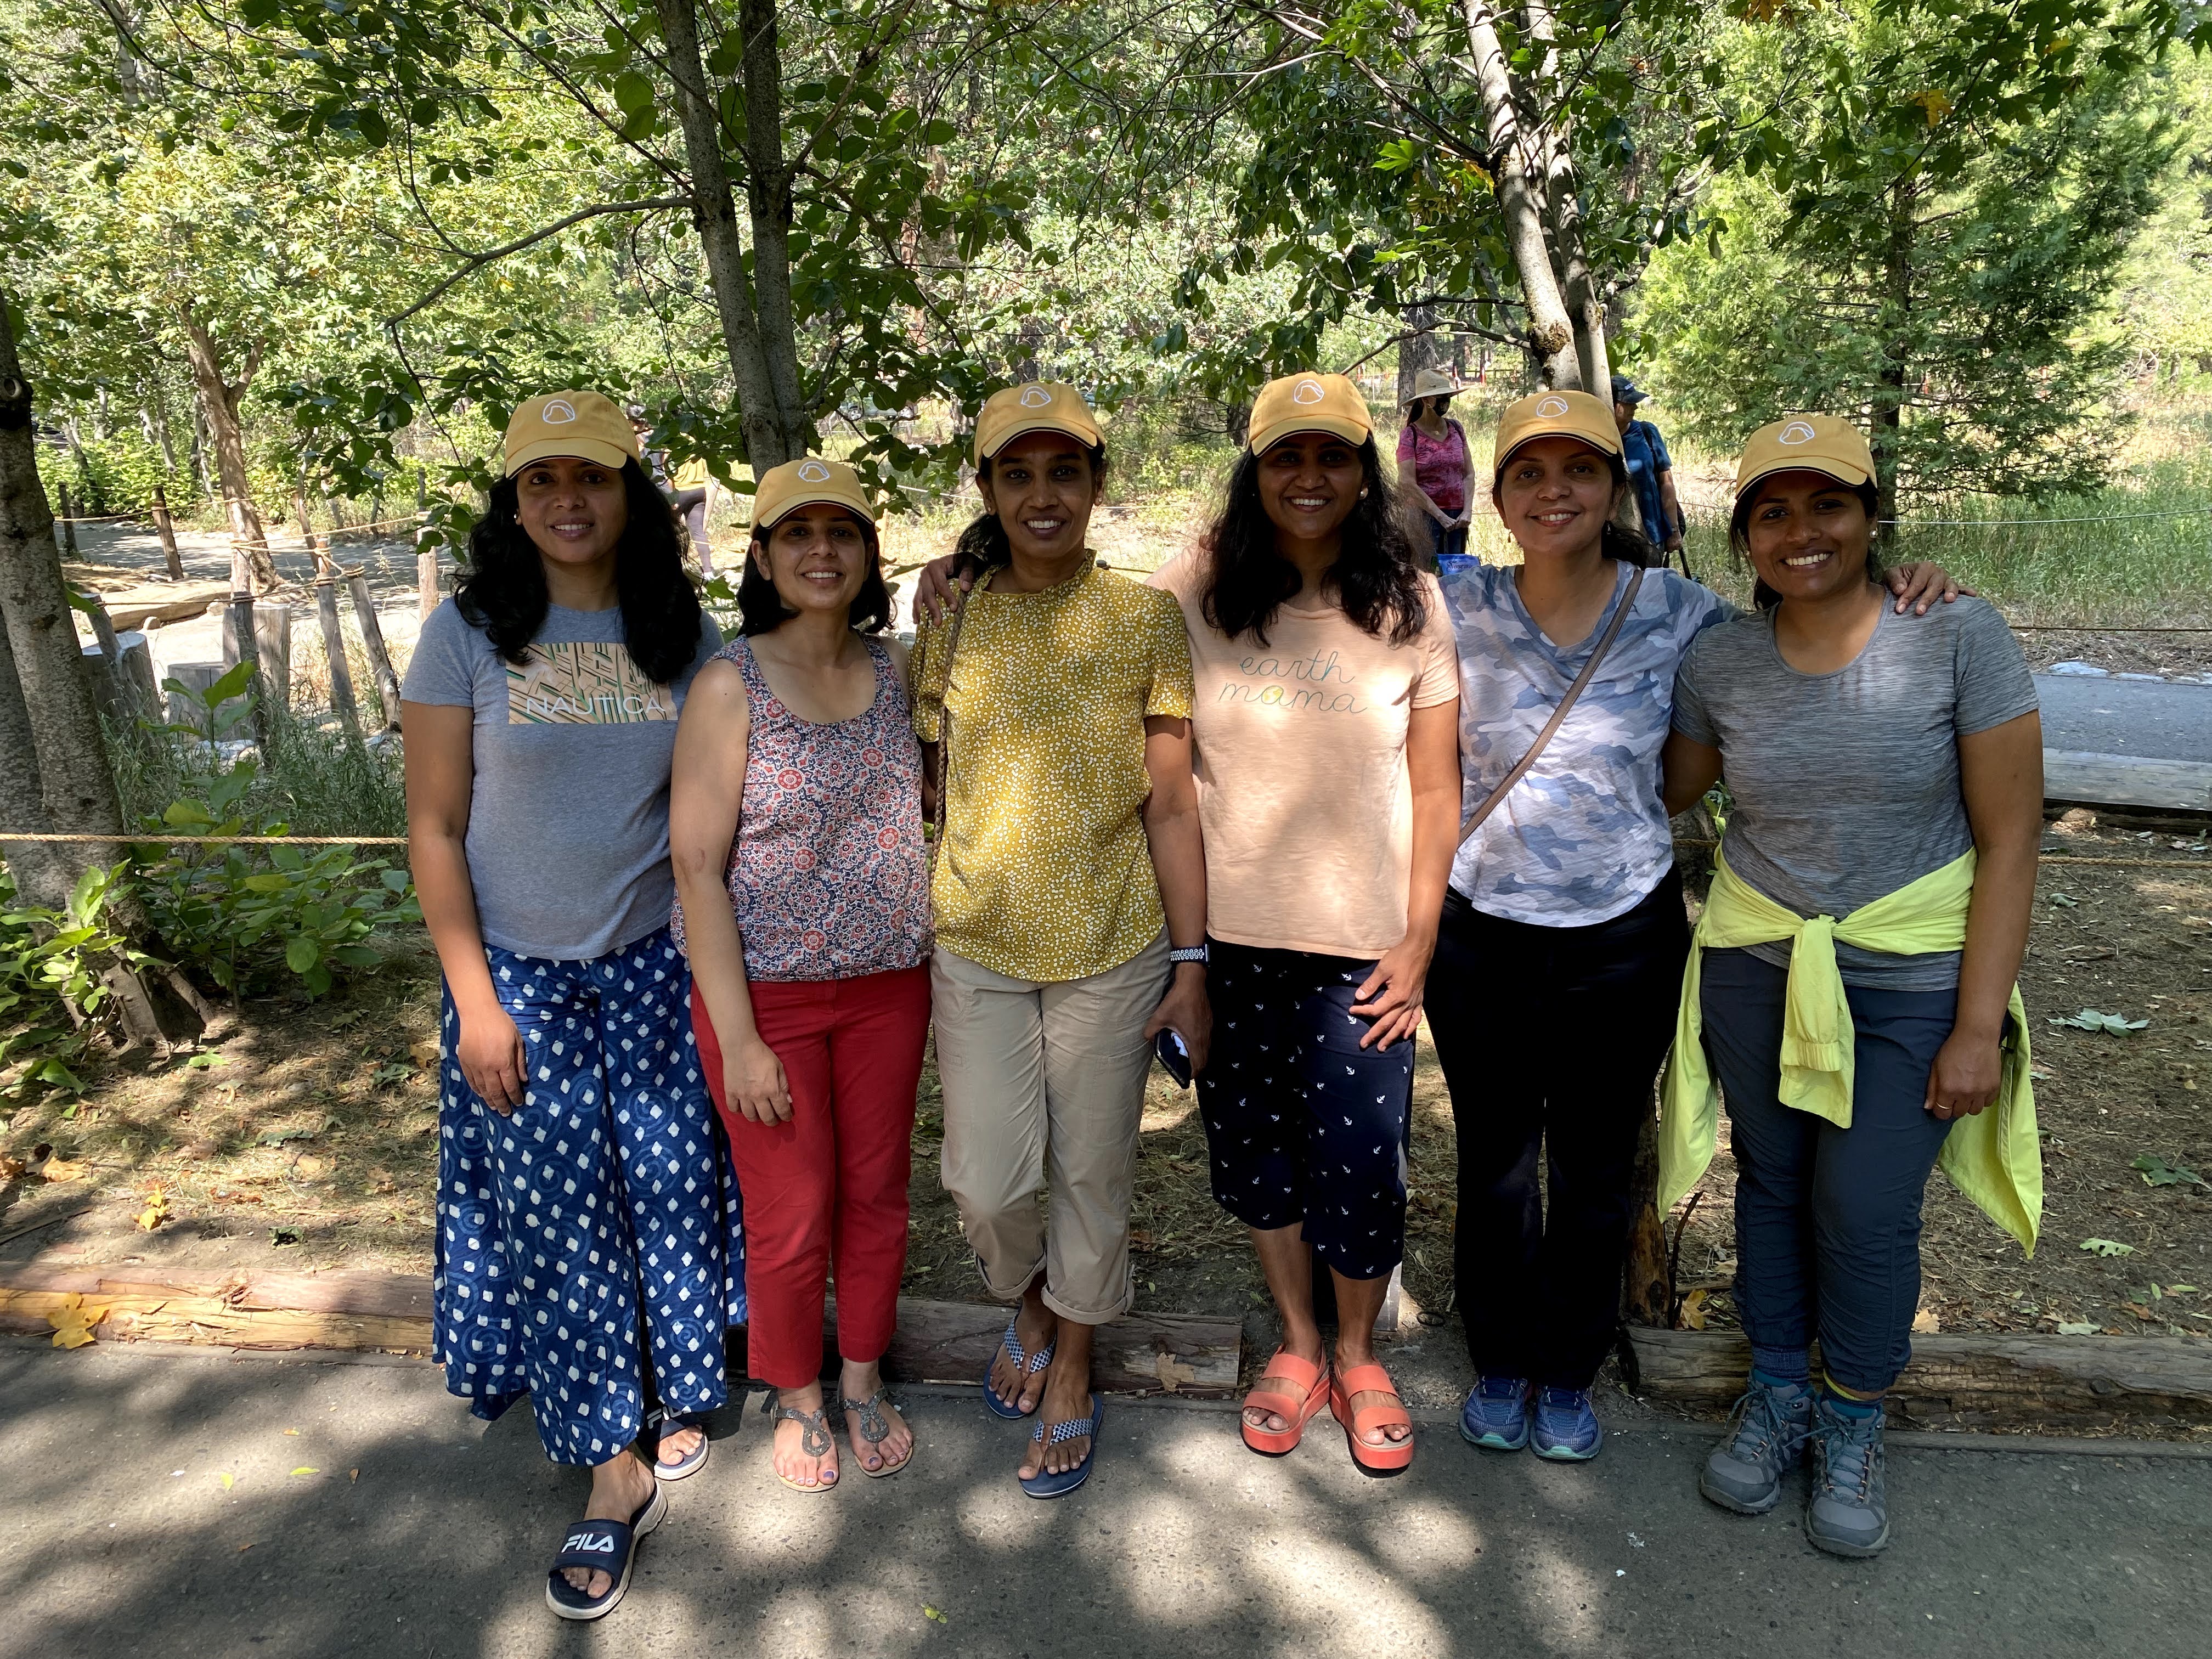
I did this hike with my family and a wonderful group of friends, about sixteen of us in total and it definitely made for a fun group event. For many in the group, it was their first endurance hike and obviously there was a lot of anxiety surrounding it. Apart from the meticulous training, lot of planning went behind the scenes to secure the permits and get accommodation in the most sought after tent and rustic log cabins in Curry Village.
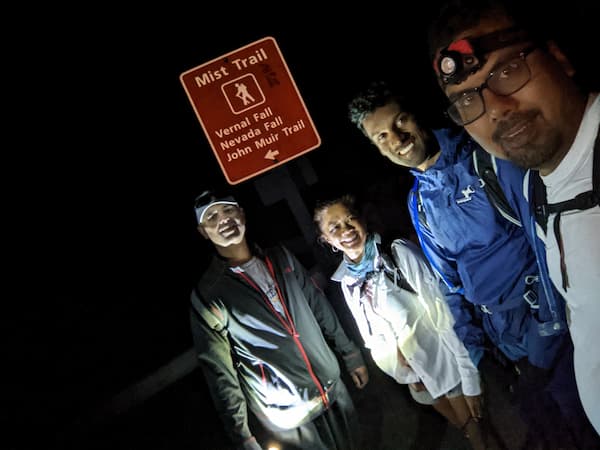
The previous night after a quick dinner, we all retired early to bed to start our hike at 4:00 am the next morning. Armed with our packs and headlamps to guide us through the thick of darkness, keeping in mind it is a bear country, the morning of the hike started with a lot of enthusiasm and we tried our best to keep our voices down to not disturb the fellow campers.
The good thing about staying in Curry Village or the adjacent campgrounds is their proximity to the trailhead, about a 20 minute walk which serves as a good warm up before we actually start the hike. The end of August weather was in pleasant 60s early in the morning and while some of us chose to wear a light jacket, most felt comfortable without one. The day’s high was in the 80s but the cool breeze at the dome made up for it.
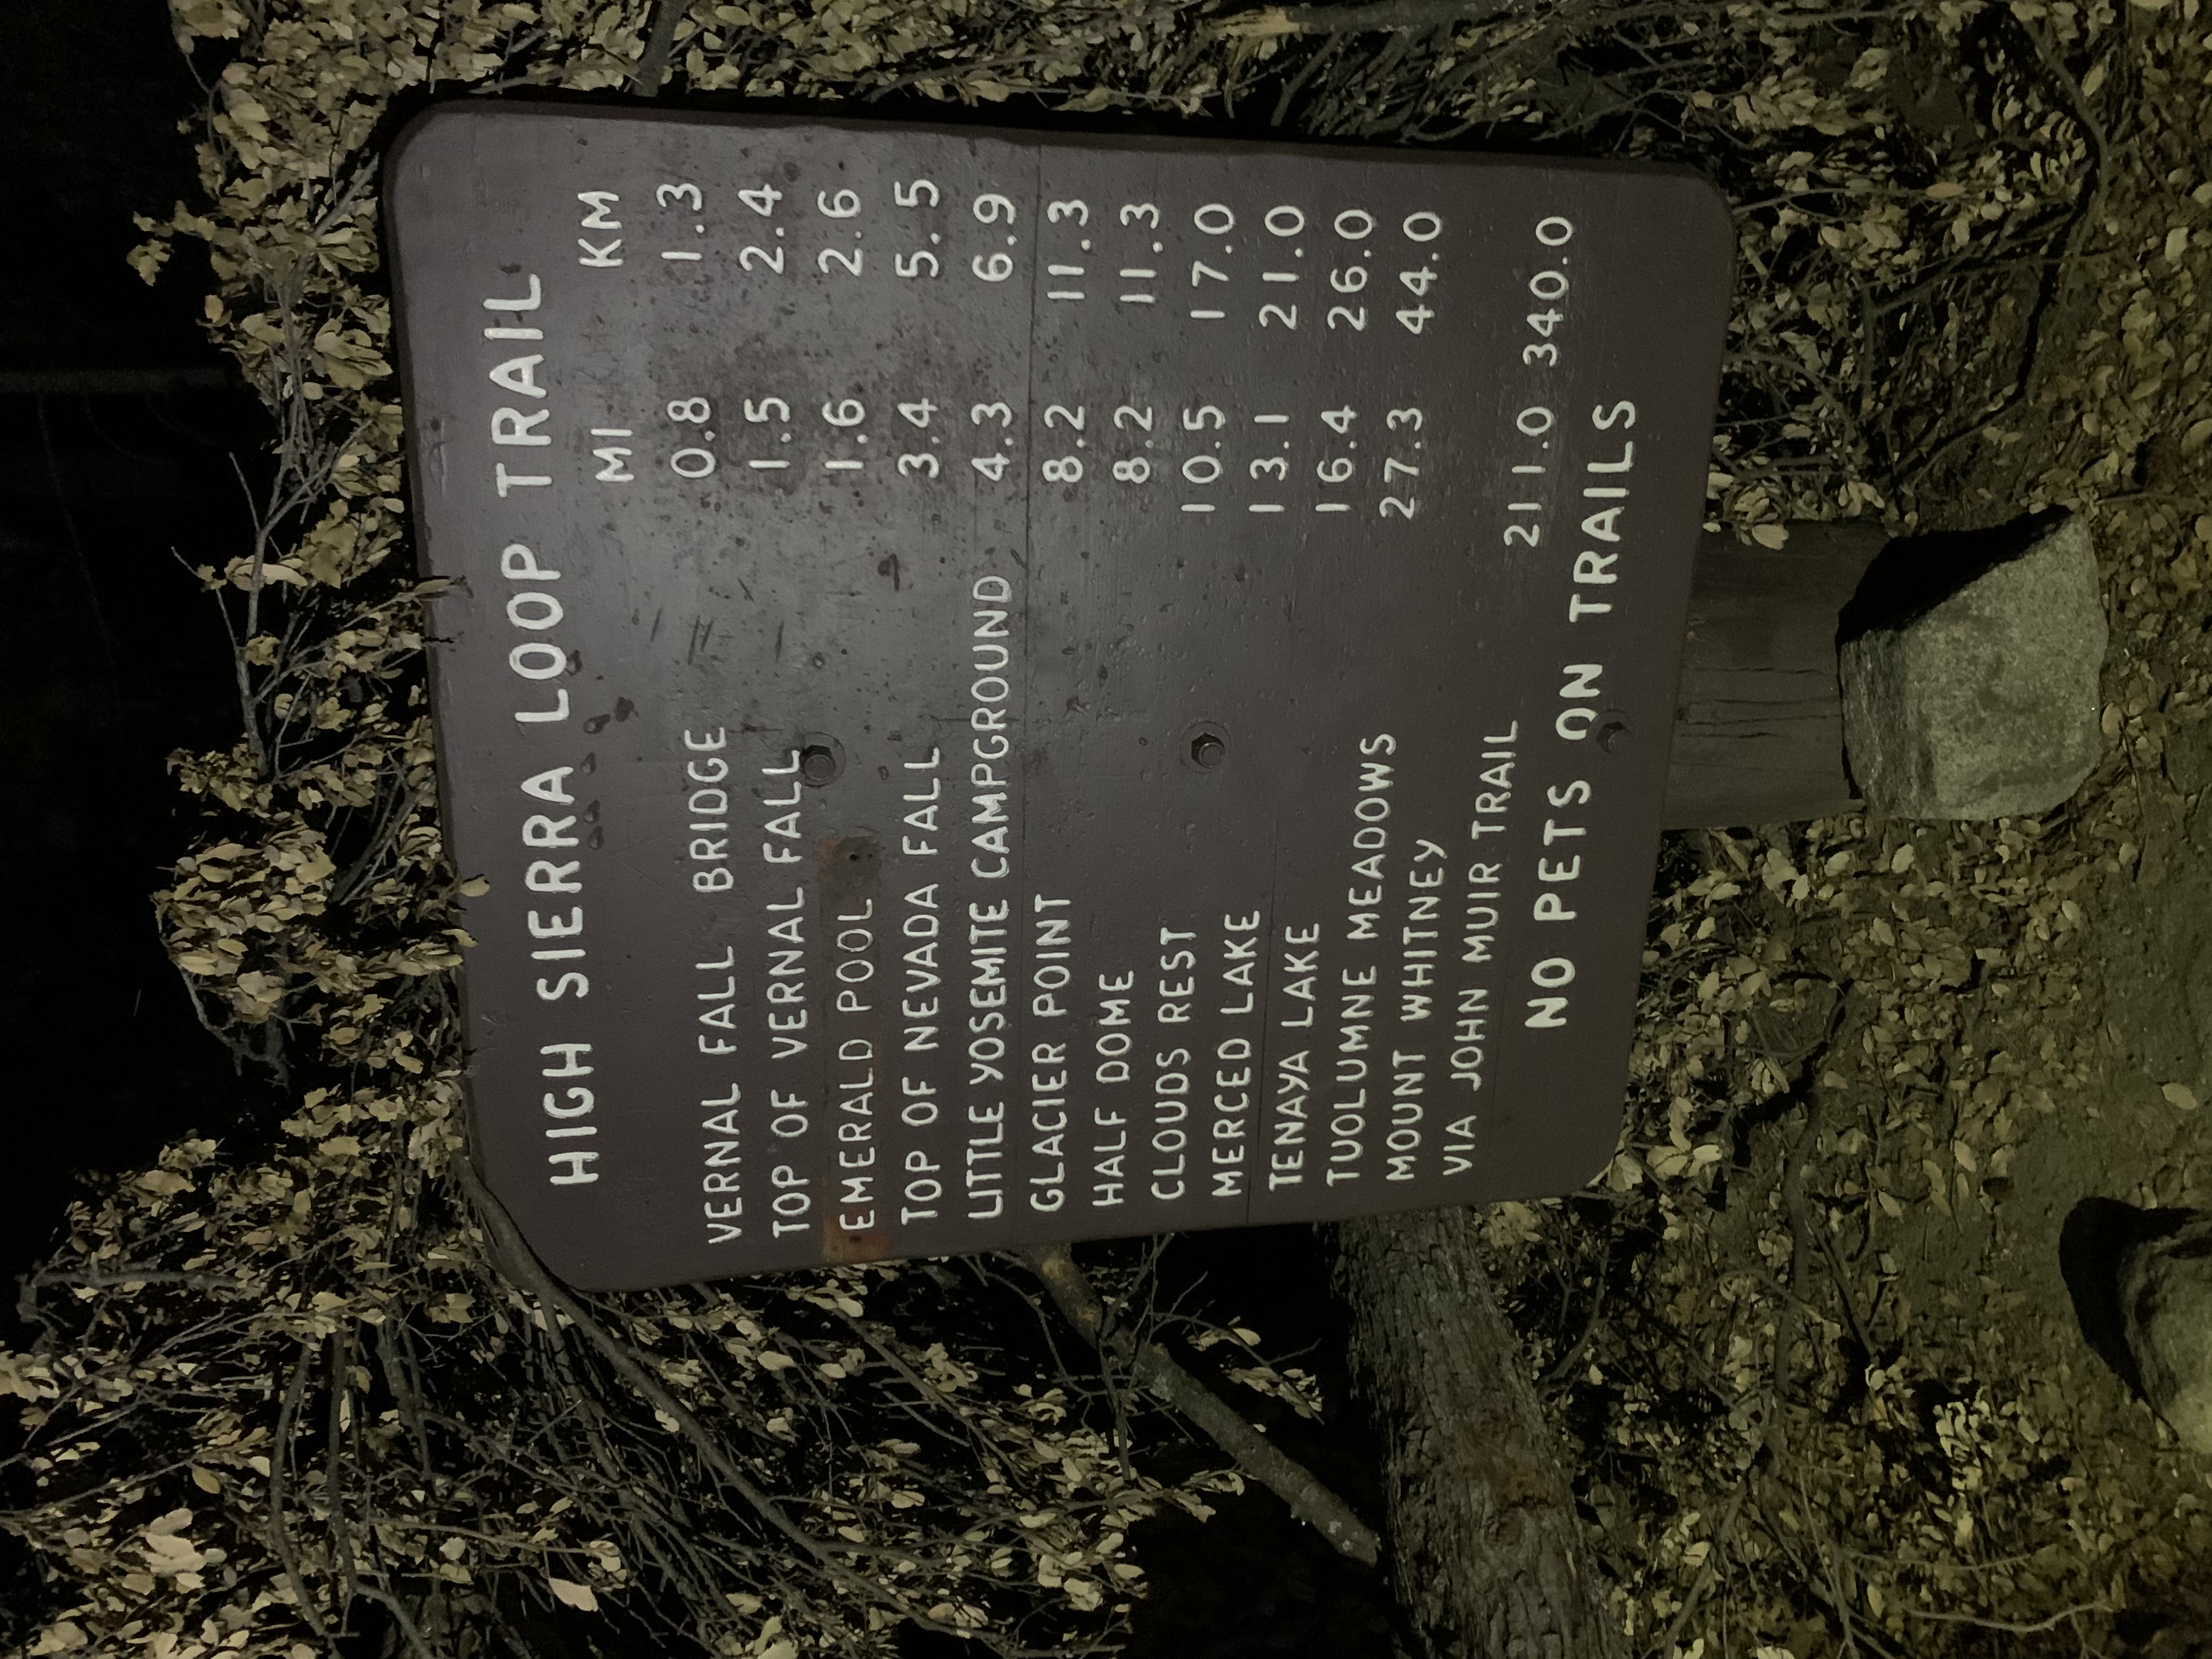
We started the hike at Mist Trail, one of the signature trails in the park with two up-close waterfalls, Vernal Falls and Nevada Falls, which provide spectacular views in every step of the first 3.5 miles. Early in the morning it is hard to see much in the dark but you can still hear the sounds and look forward to the views on your way back. In about a mile near the Vernal Falls footbridge, we used the only restroom on the trail with flushable toilets and refilled water from the last potable drinking water fountain.
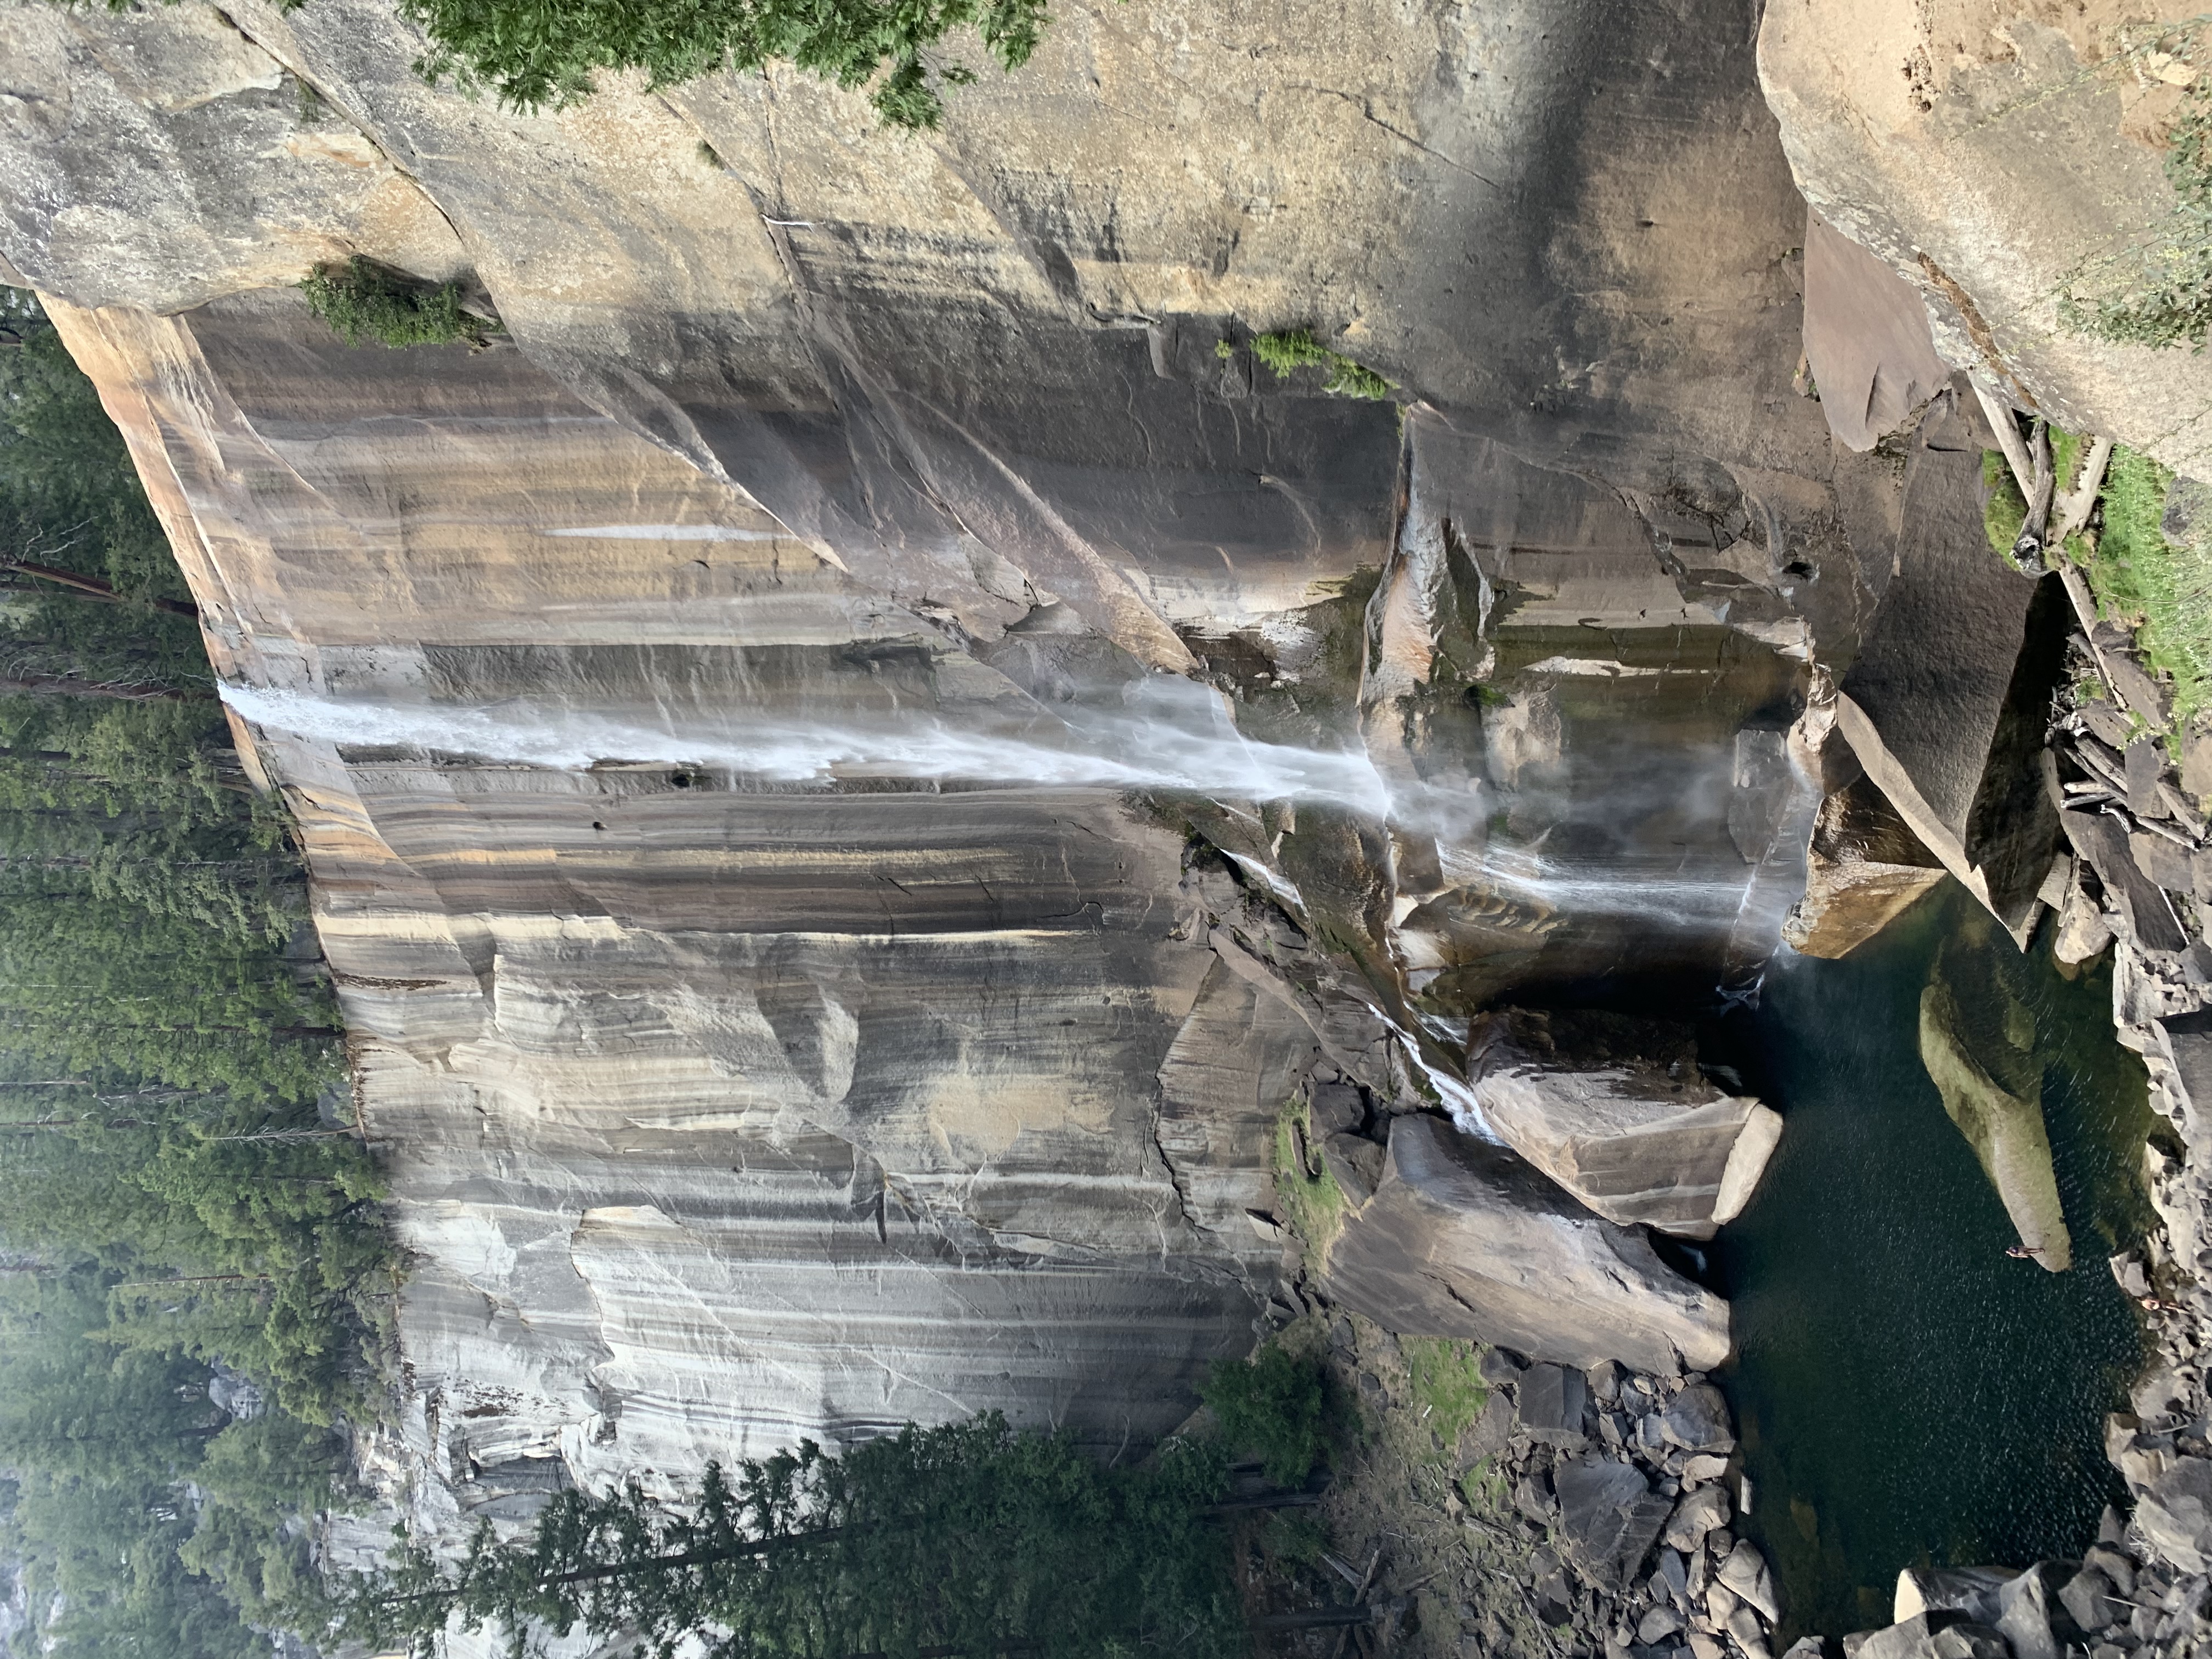
All warmed up by now, within the next half mile, stepped on the first of the many thousand steps that followed, some shallow and some steep. The sounds of the falls combined with the cool breeze kept us all distracted from the gradual intensity of the climb. In little more than an hour and after climbing approximately 600 granite steps we were at the top of Vernal Falls embracing the beautiful twilight of the dawn.
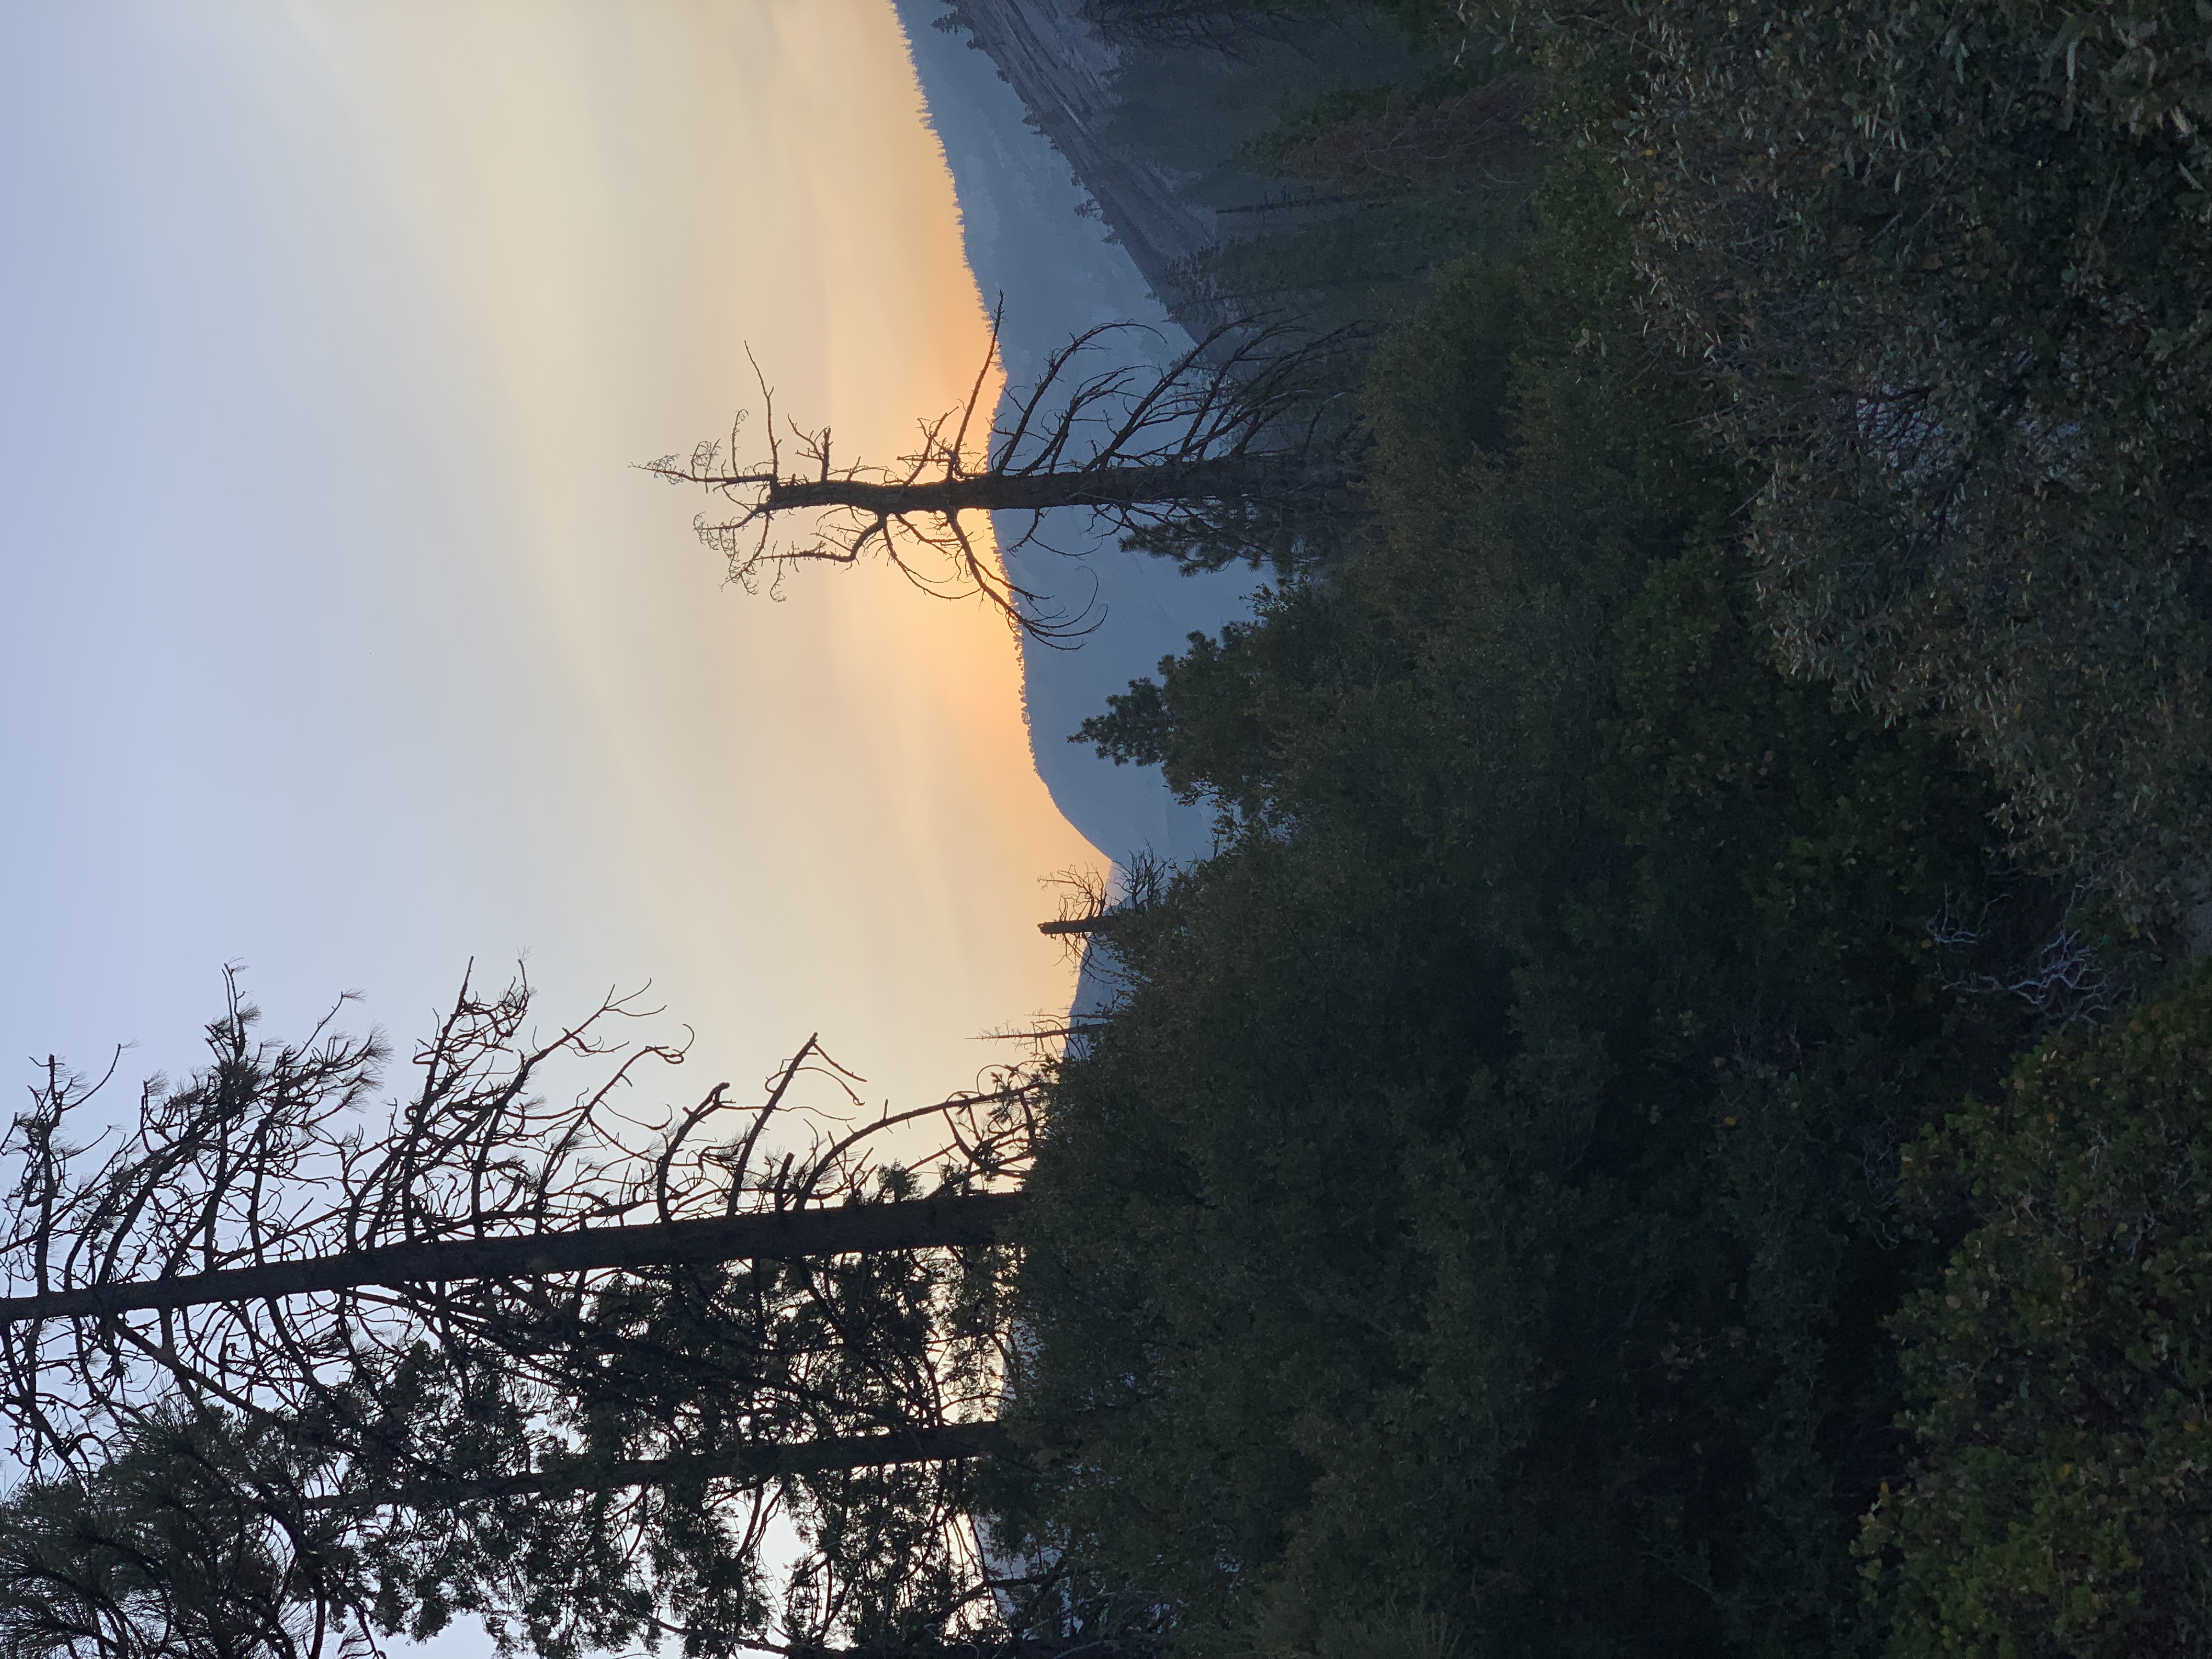
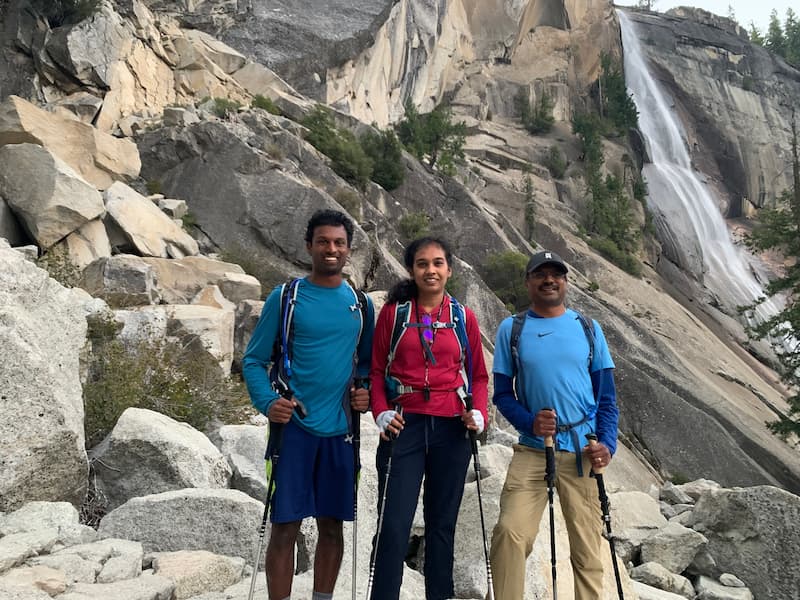
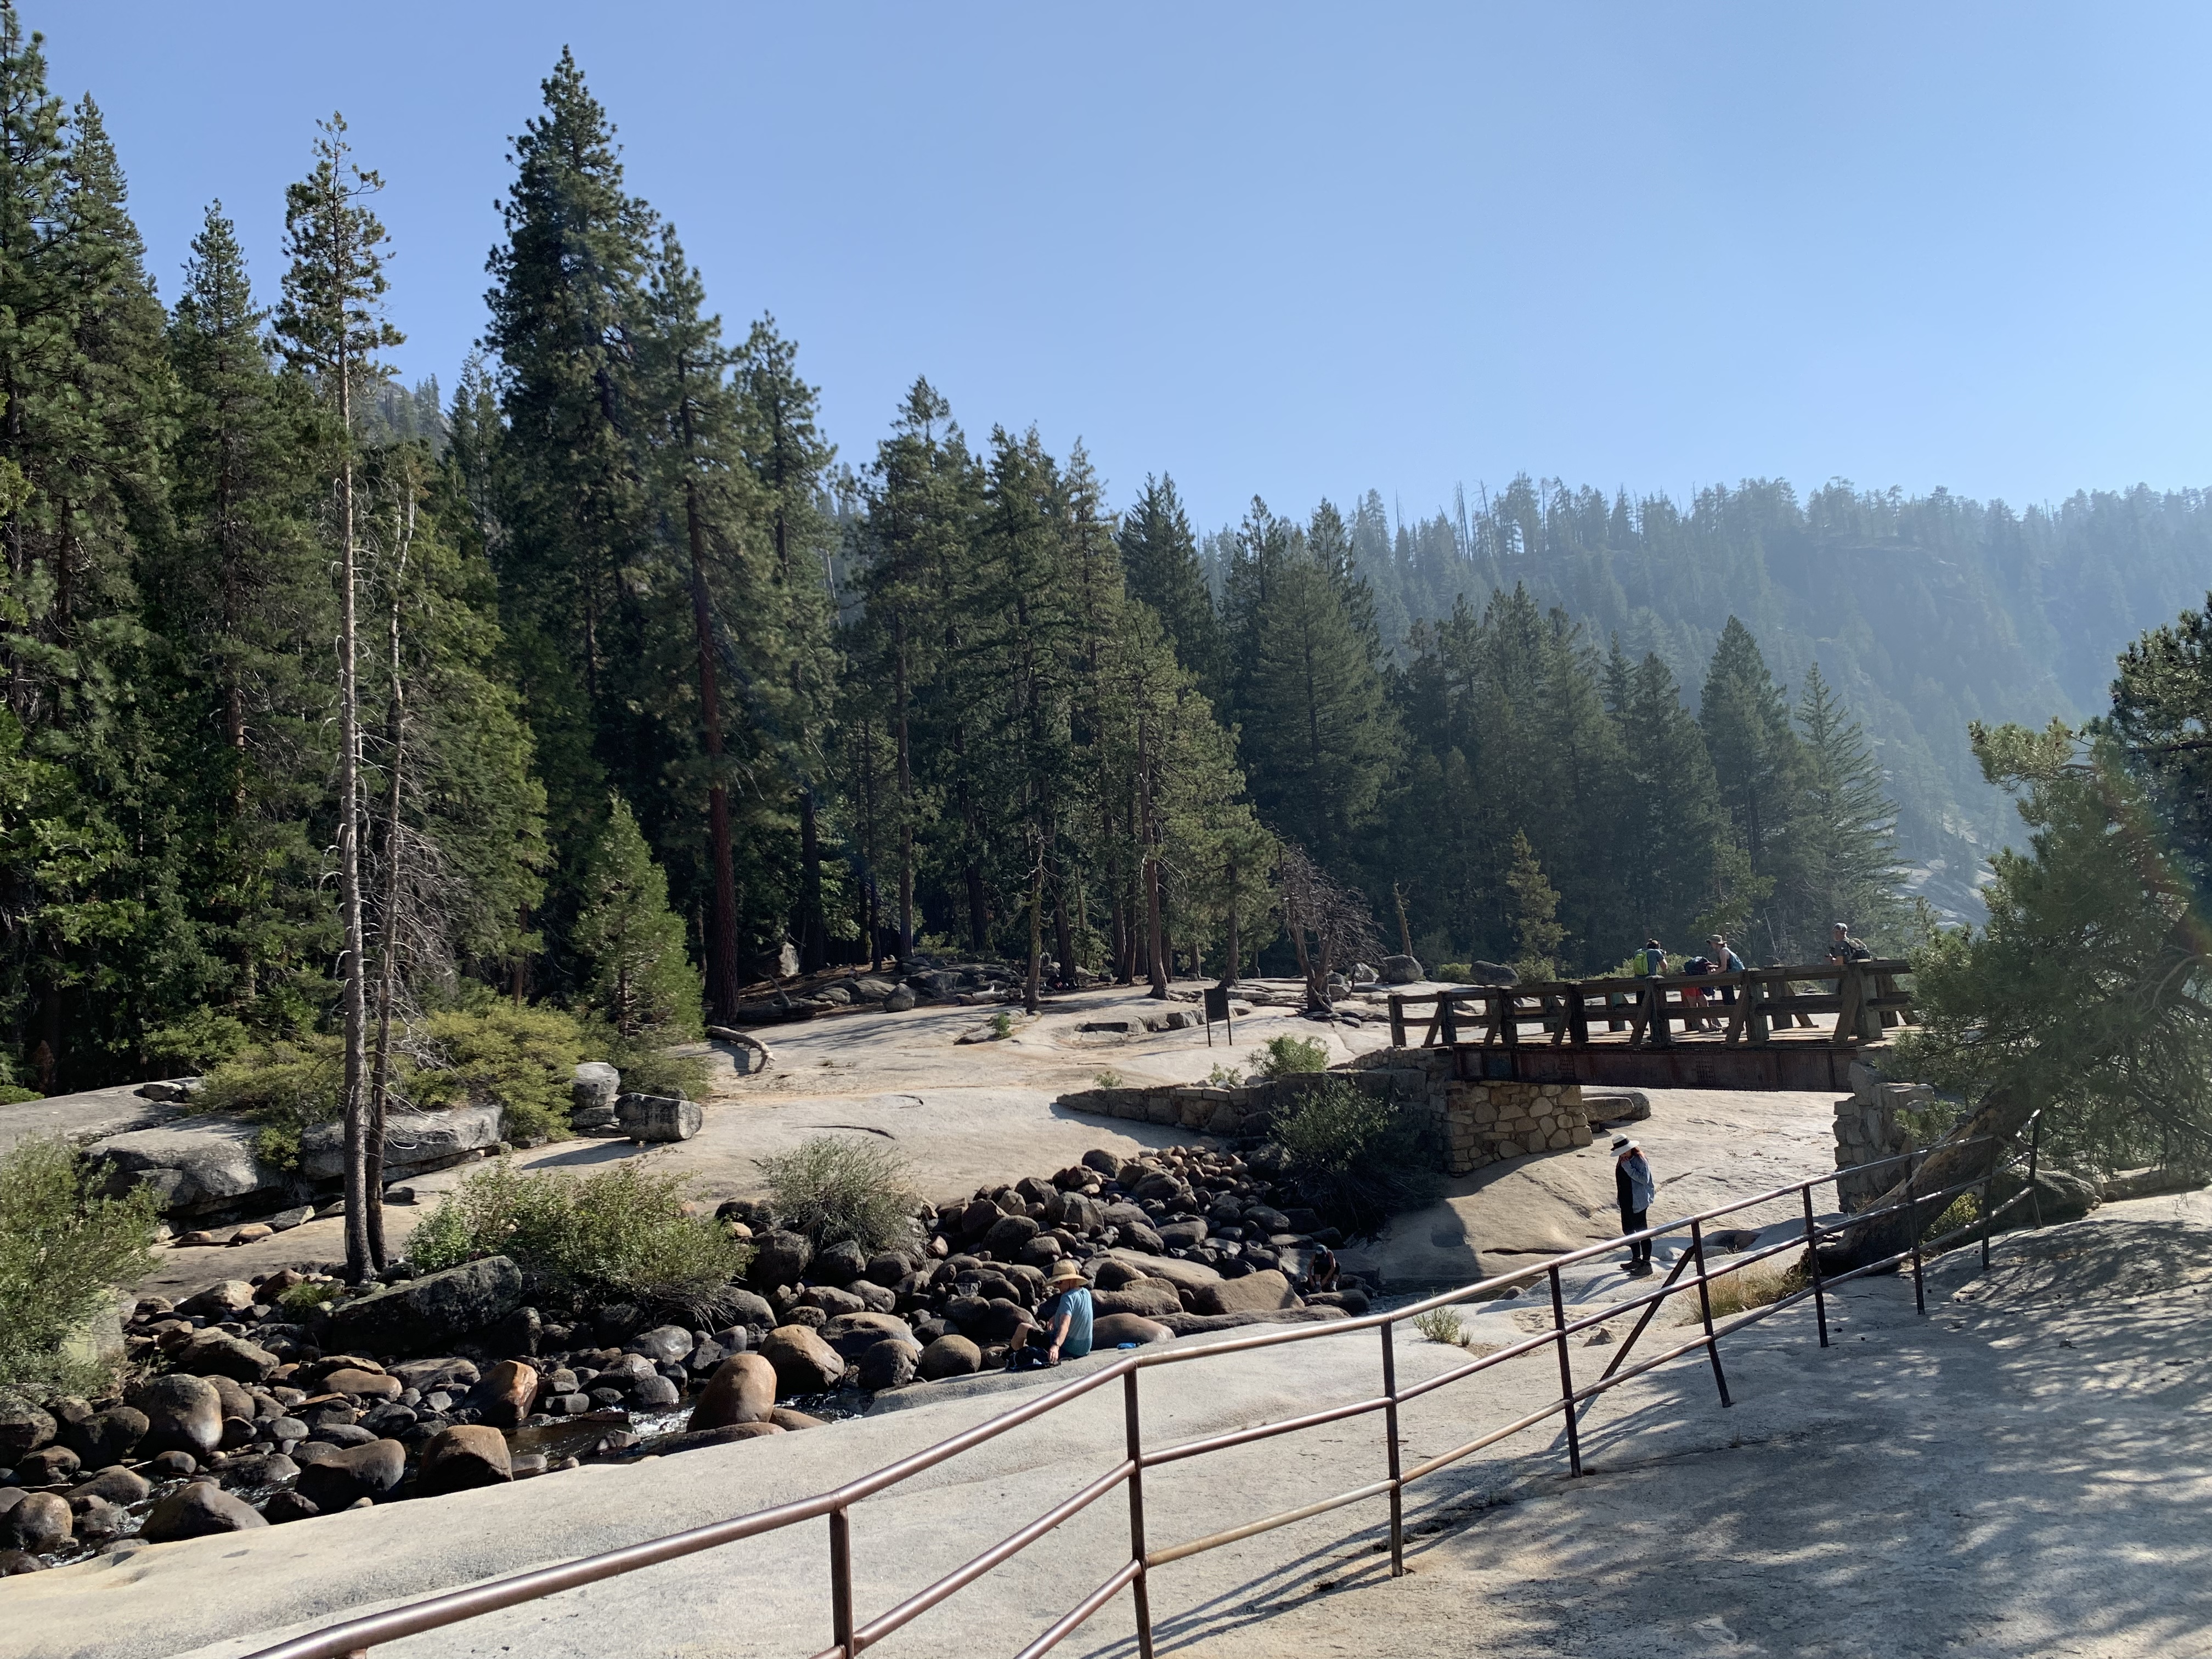
After a short break to hydrate ourselves, continued on to the next section of the hike by climbing more steps towards another popular falls in the park, the Nevada Falls, no less spectacular than the previous one. By dawn, having hiked closer to 4 miles by constantly climbing up those grueling steps, we were finally at the top of Nevada Falls right on time to witness the sunrise. The views from the top were absolutely breathtaking.
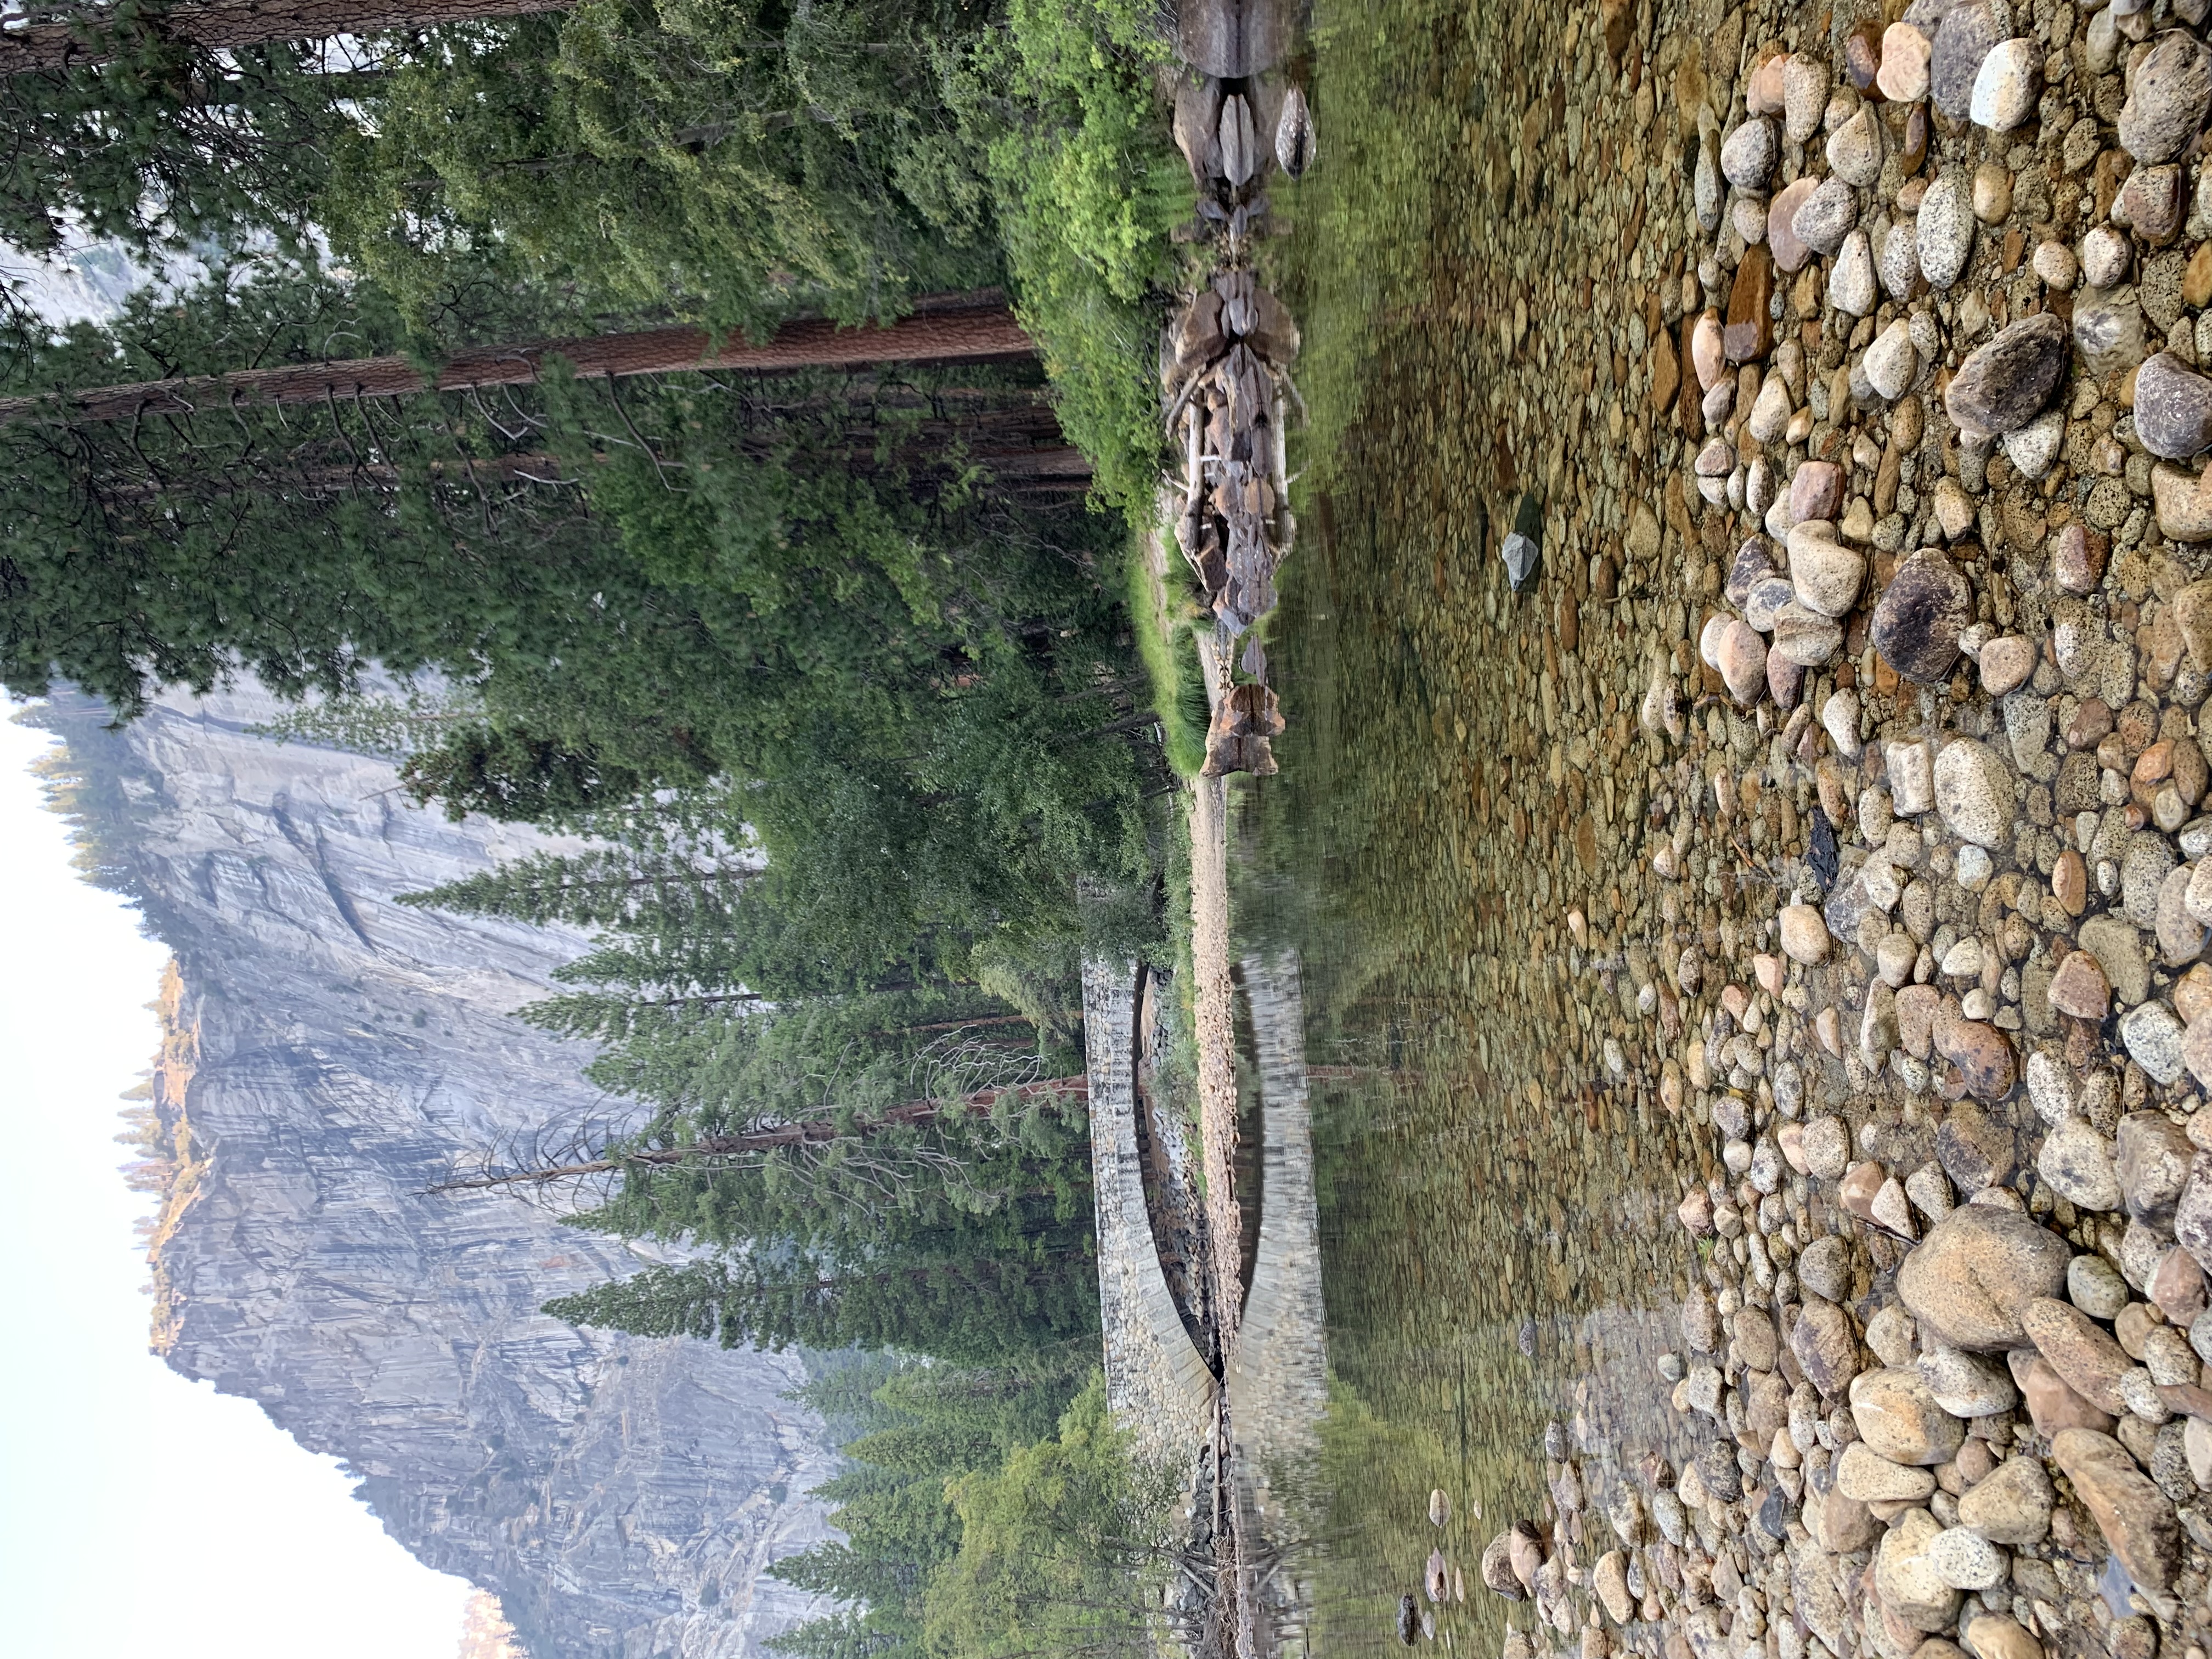
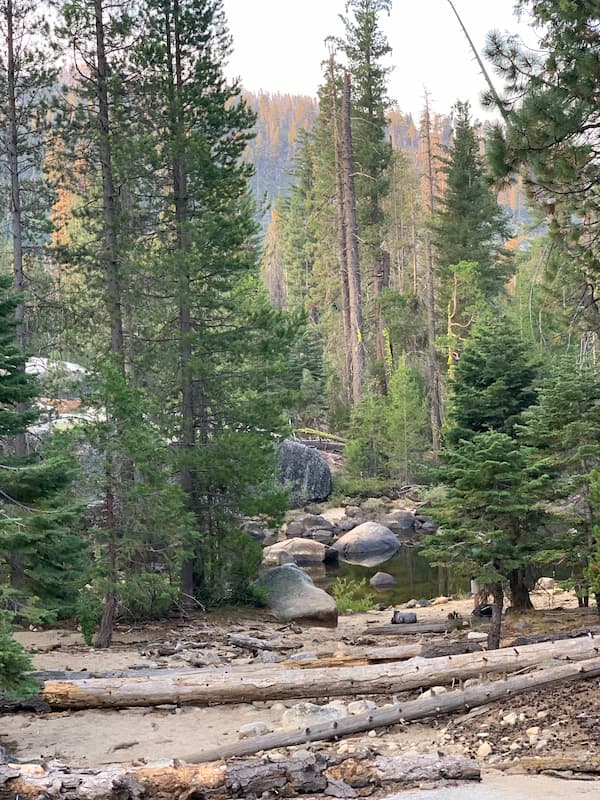
Next section of the trail that emerged into Little Yosemite Valley at about 6000 ft was sandy and gave us all the much needed breather from the rocky steps. With emerald green Merced river running next to the trail providing a change in scenery, we had a bit of a relaxed walk for the next mile and a half up until we reached the Backpacker’s Camp, a popular one used by thru-hikers. There was a restroom nearby and Merced river is a good place to refill water if you carry a filter with you.
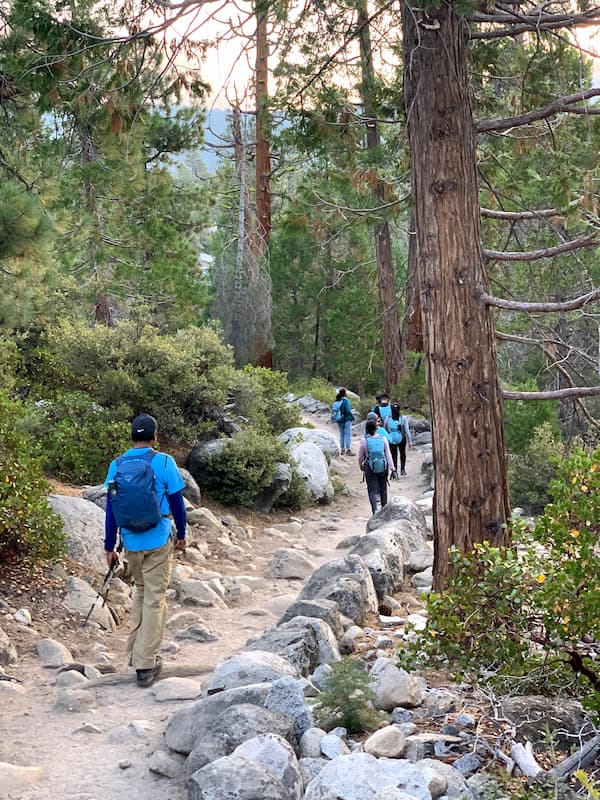
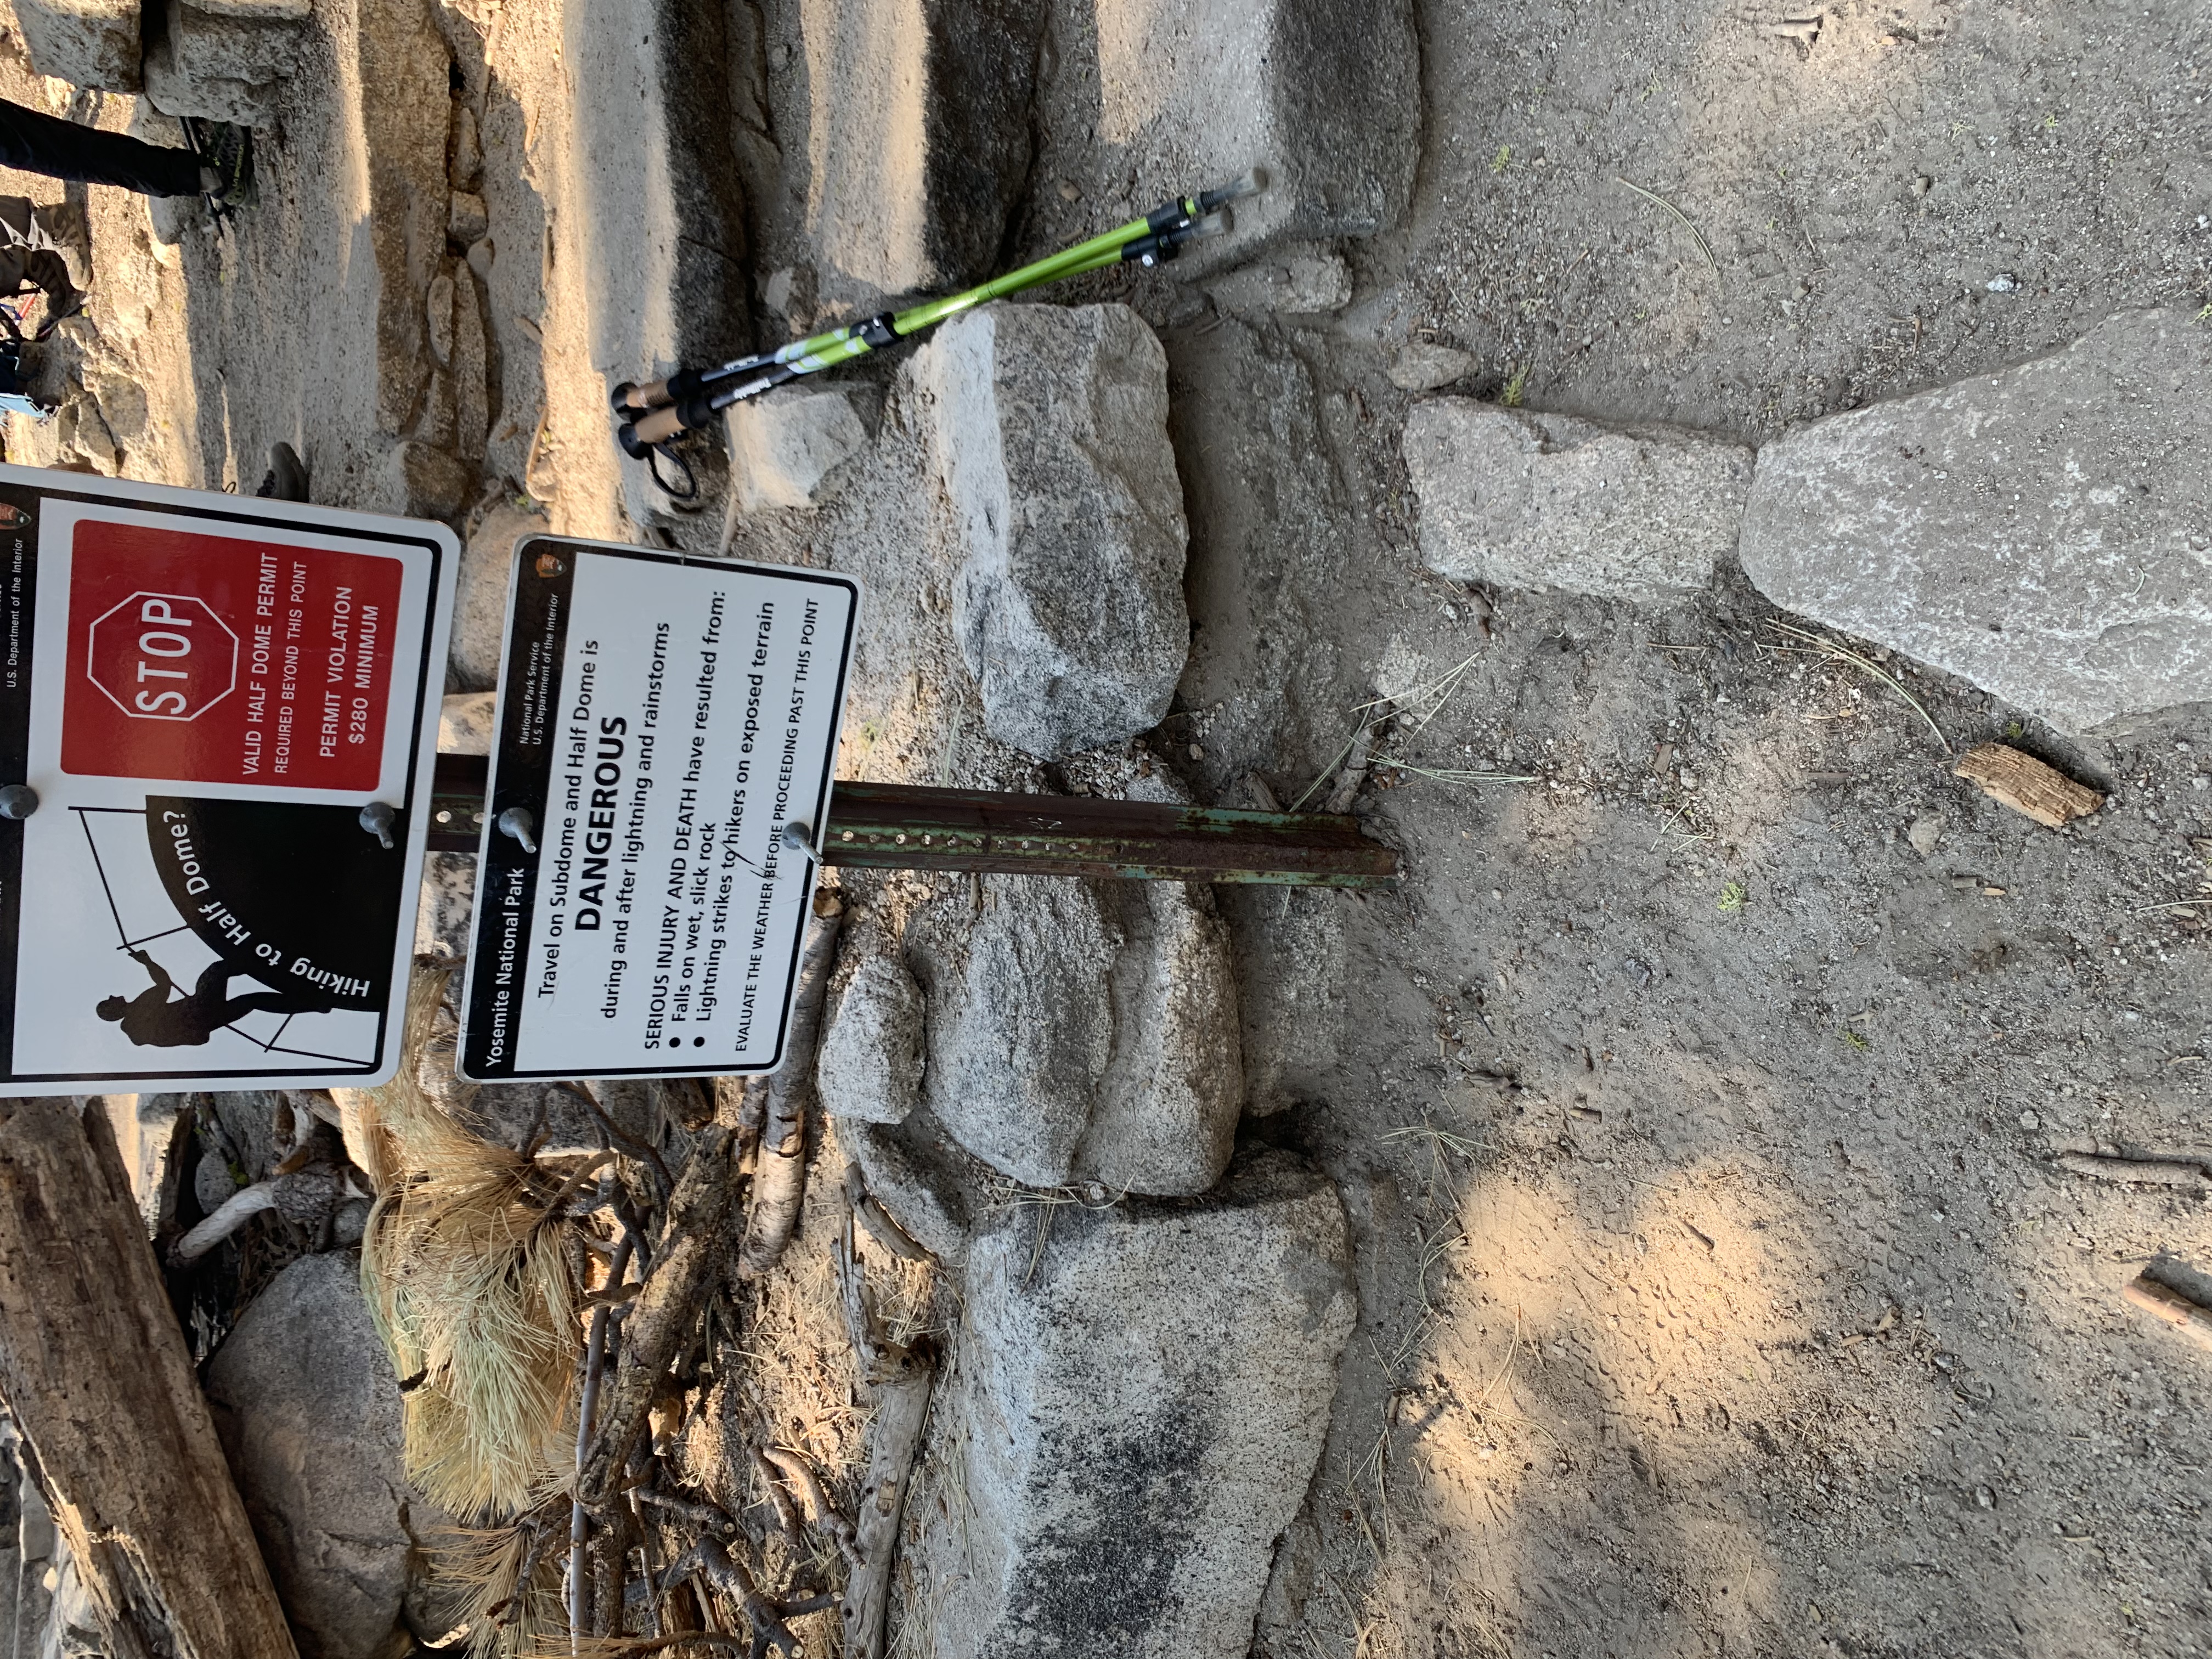
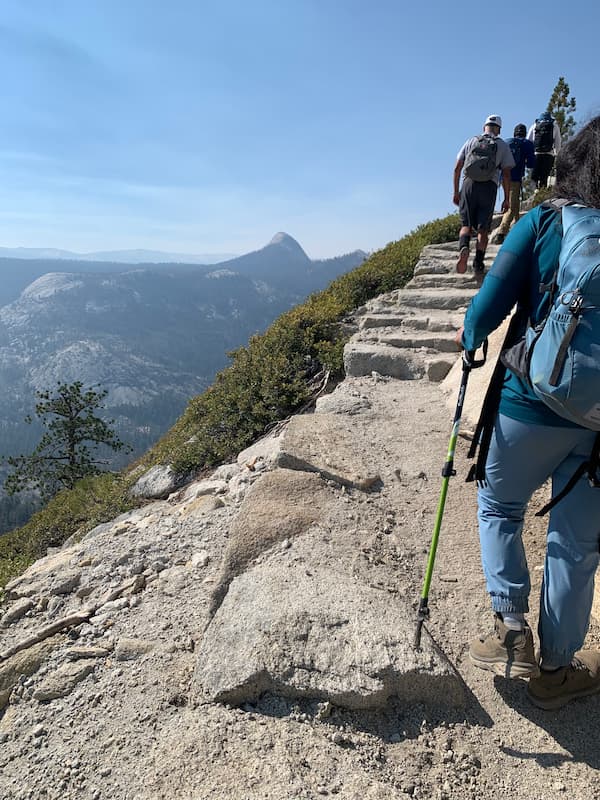
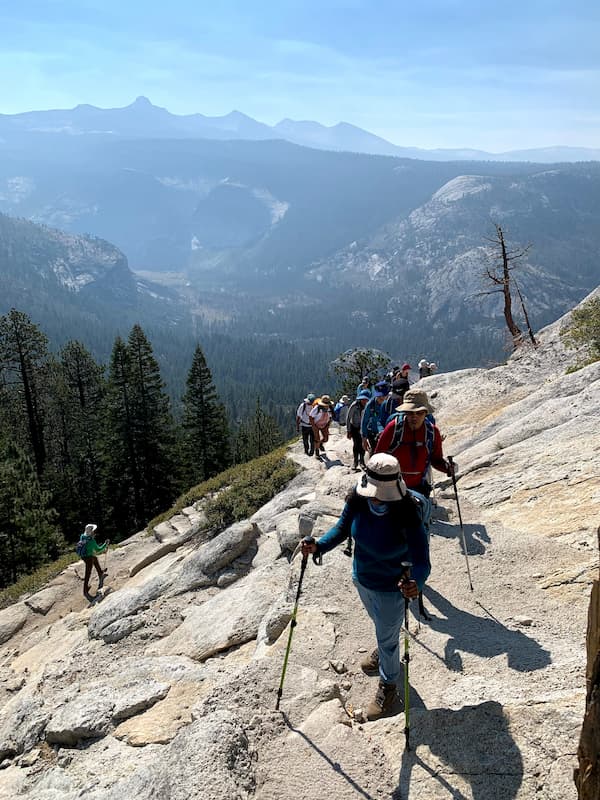
From here on we started the uphill climb again on to the next segment of the hike called the Climb that runs on the backside of the half dome to cover about 1800 ft of elevation. We took frequent breaks to refuel ourselves with calorie dense foods and electrolytes/salt tabs. We started seeing more hikers as we got closer to the sub dome where the permits get checked by the rangers.
After about 5 hours from the time we started the hike, we reached the Sub Dome that precedes the dome. We paid careful attention to the instructions given by the ranger to tackle the next 900 ft of elevation in half a mile that covers the sub dome and the cabled route to the dome. This is where you can let the ranger know if you have extra permits that could be given to ones that don’t have a permit, also known as permit jumpers. We had a couple of extras and were happy to give away.
By this time we were out of the tree covers. With full exposure to sunlight and fatigued, we had to watch every step we took to carefully climb up to the sub dome. To explain the steepness of it, some say that the sub dome climb is harder than climbing the dome itself because there are no ropes to hold on to.
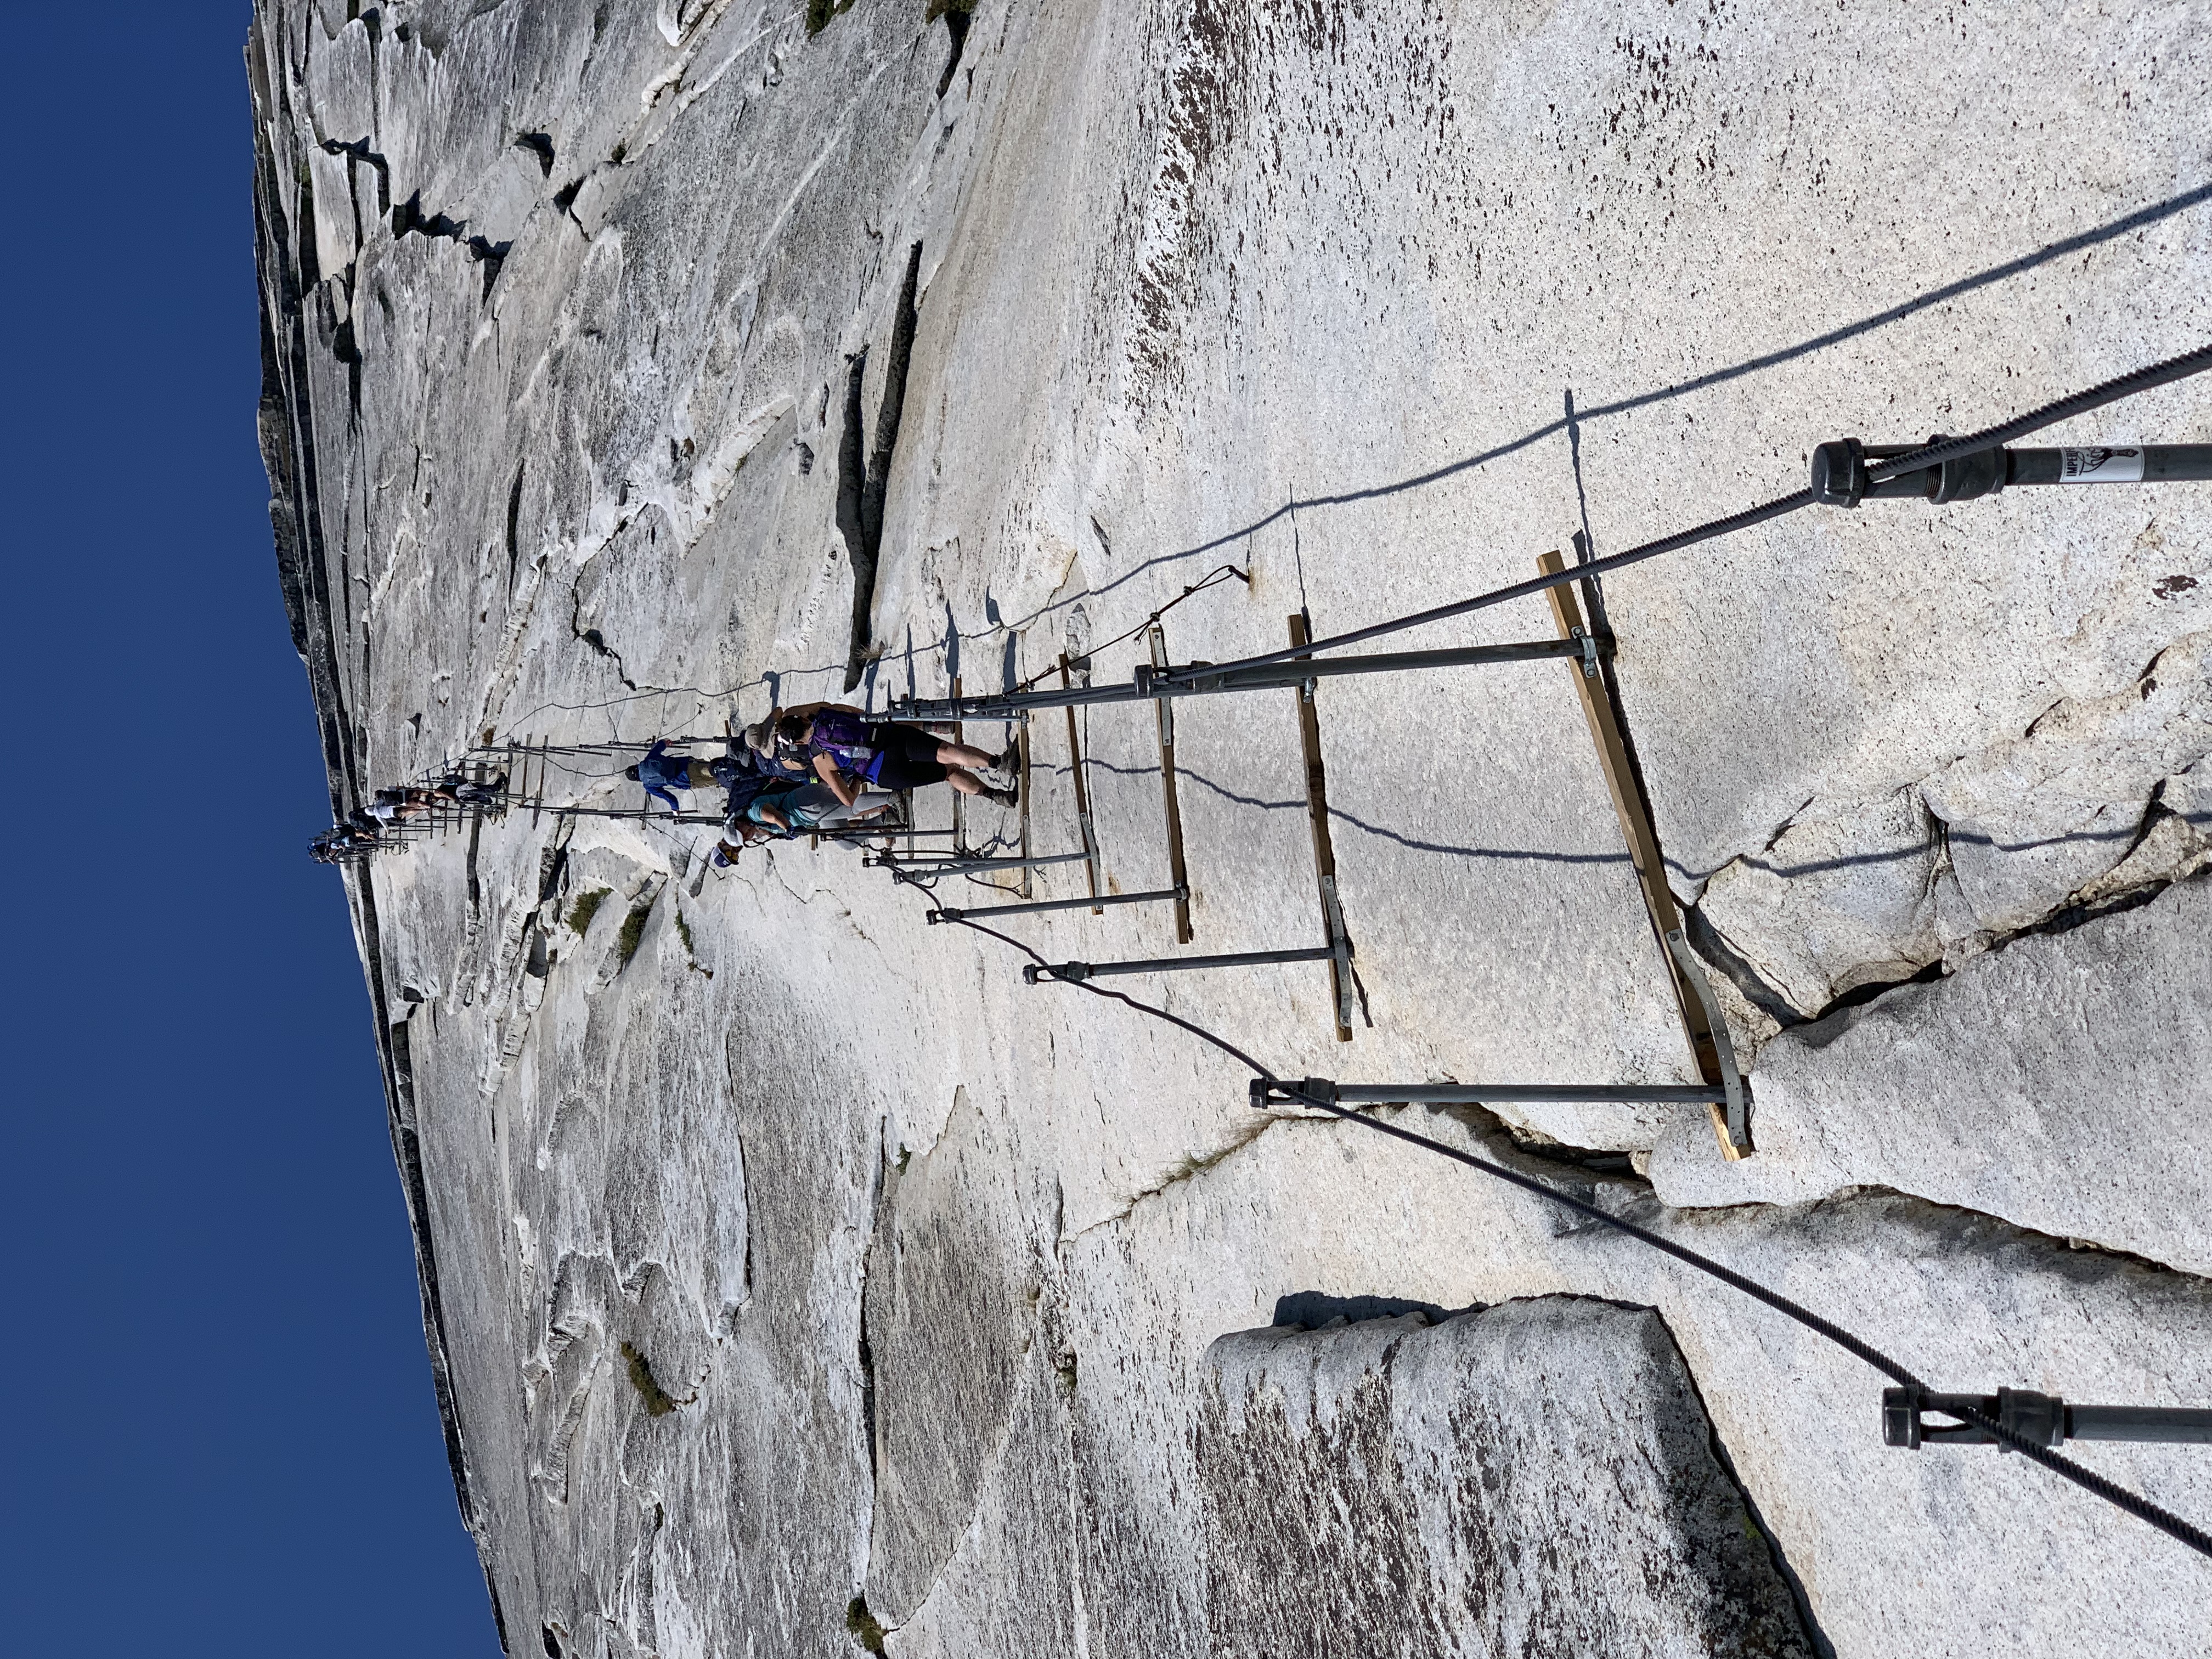
It took about 30 mts to reach the base of the dome and finally there we were staring at the humongous dome right in front of us. Though I read so many articles and watched many videos in preparation for this hike, I felt it was way more steeper in reality than what I had imagined and it gave me goosebumps. If you are someone with intense fear of heights, you may want to think twice before doing this hike!
We didn’t hesitate much and just started the climb right away. The timing was perfect with not many hikers on the cable route at 10:30 am. Using all my upper body strength I could, pulled myself up one plank at a time, and made it to the top of the dome at 11:00 am. It definitely felt scary in the middle part around the curved surface of the dome where it seemed a bit slippery but going slow by taking frequent pauses quickly helped me to get a hang of it.
Some of the fellow hikers had the Via Ferrata climbing harness system to secure themselves to the ropes for extra protection. Most of us made it to the top without one. It is a personal choice and you should opt what works best for you. From the top of the dome it was quite thrilling to see the rest in our group all emerge one after the other with big smiles.
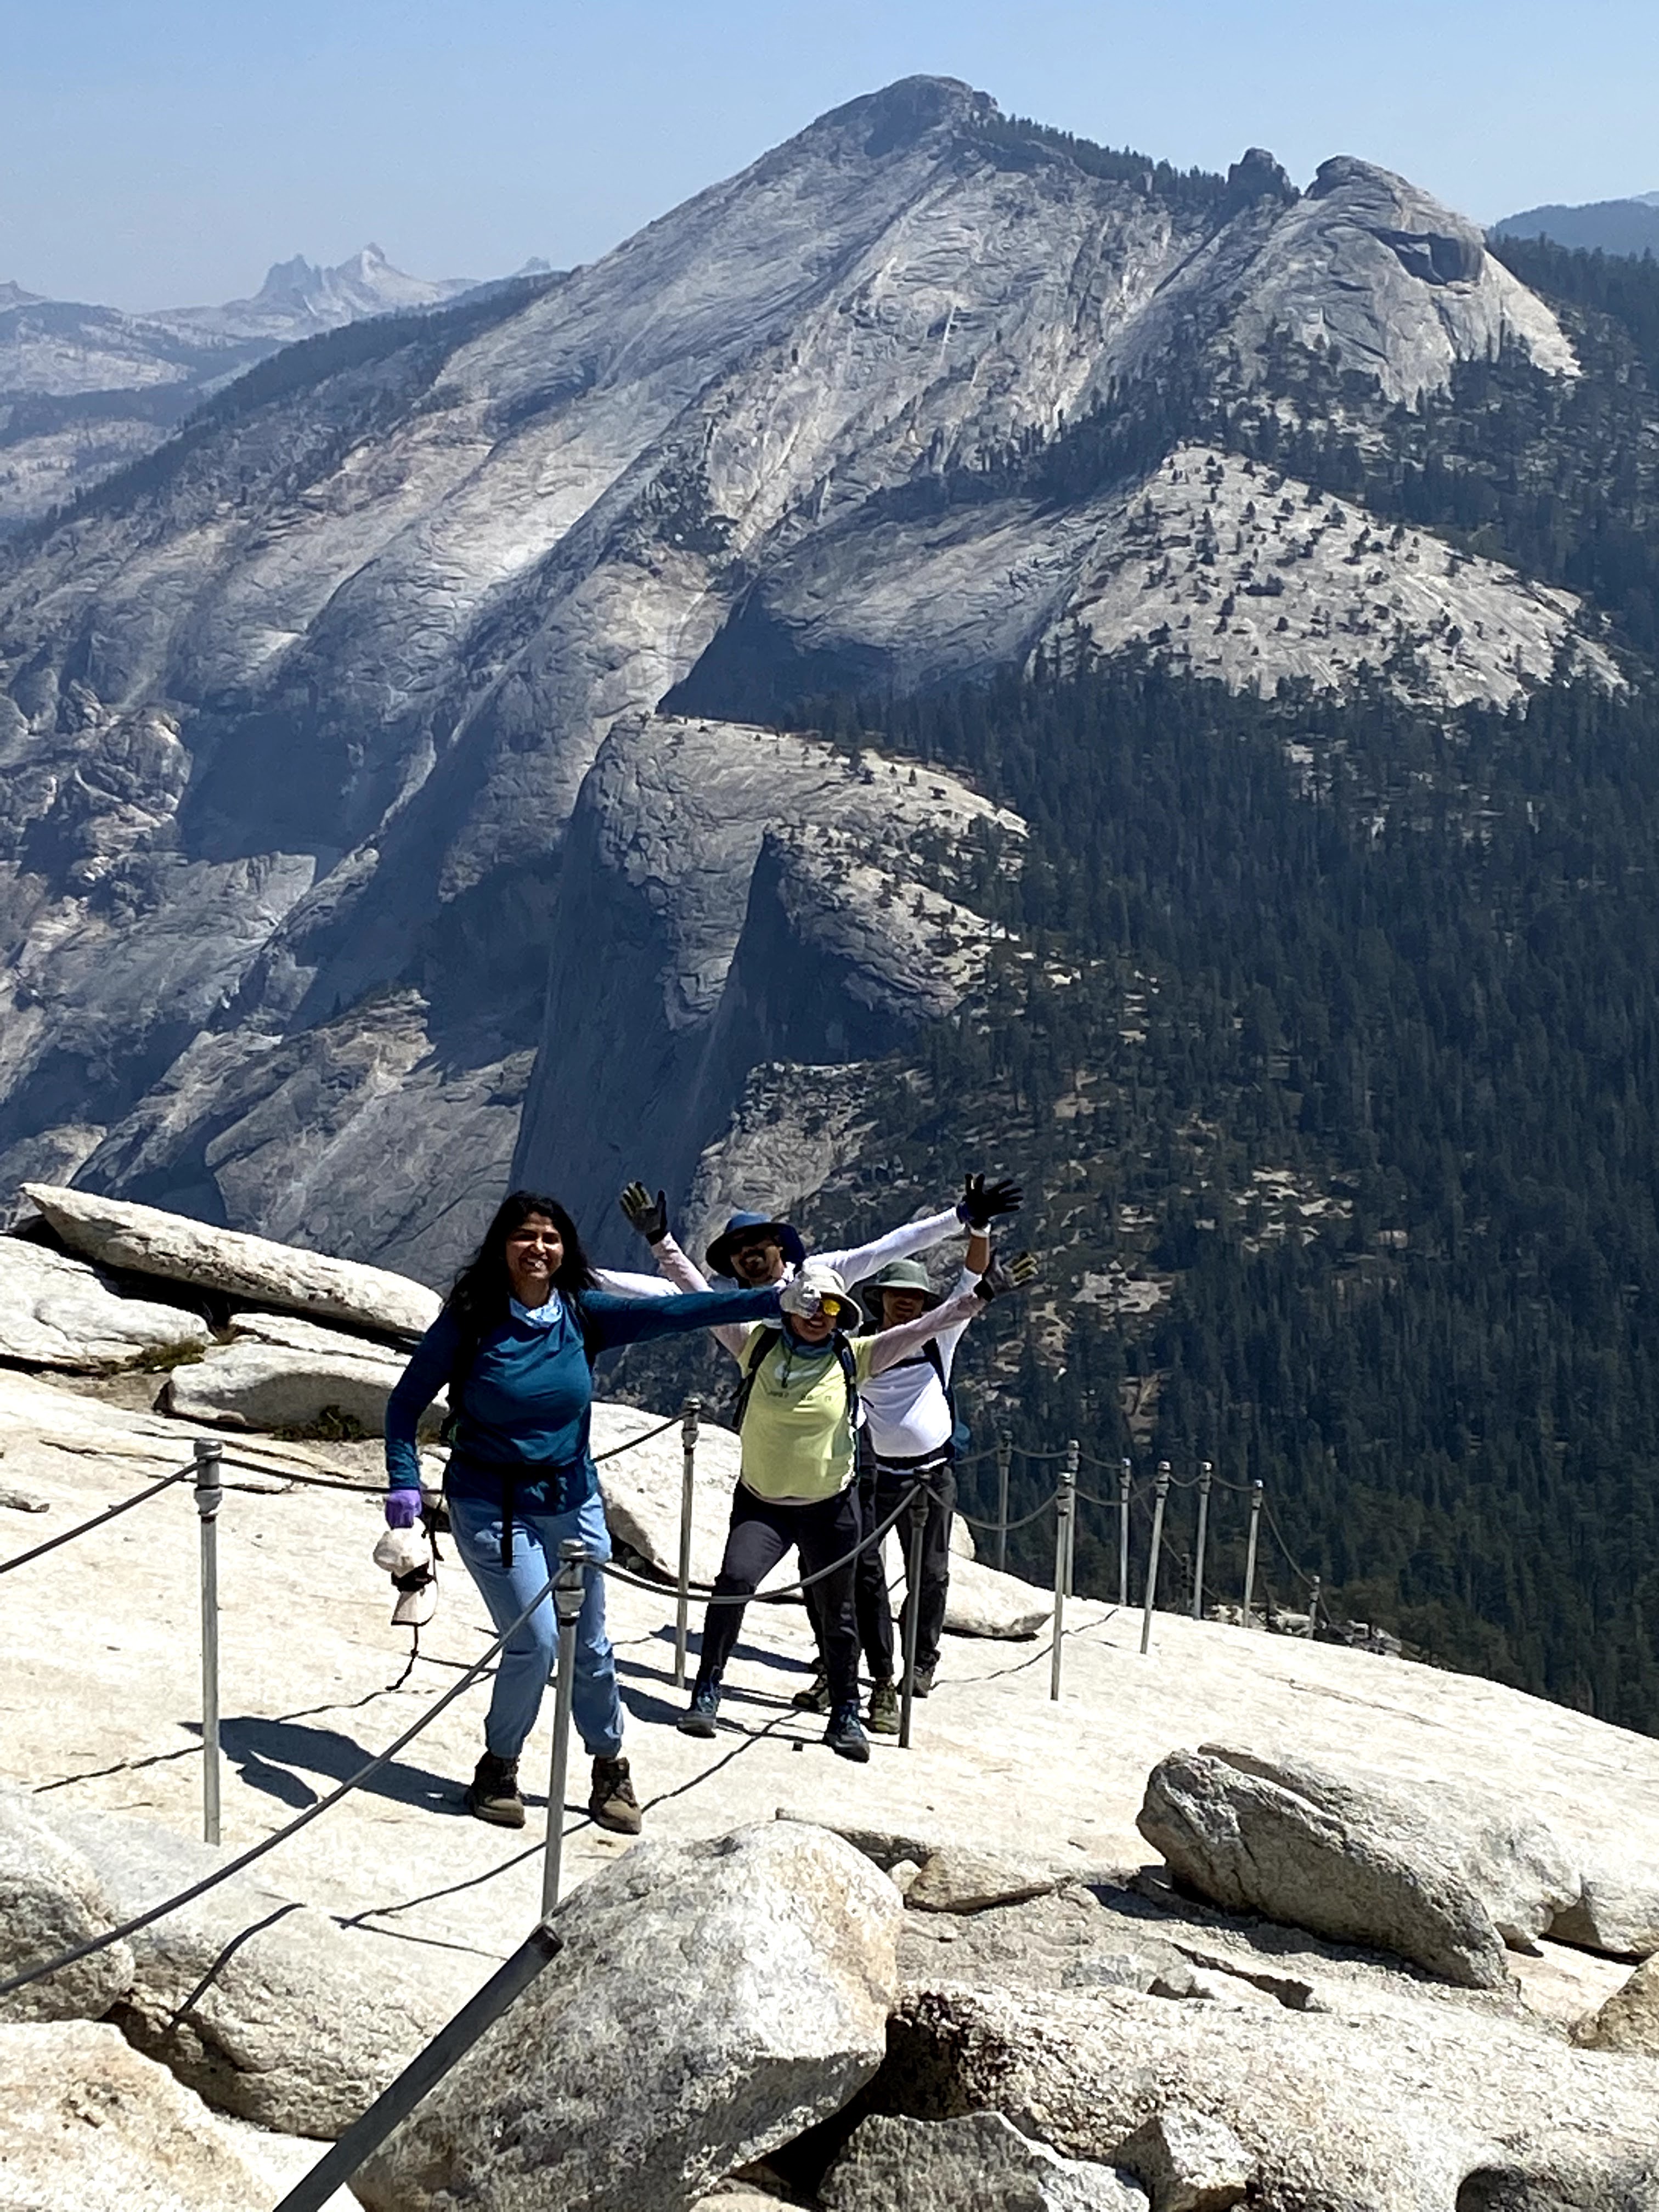
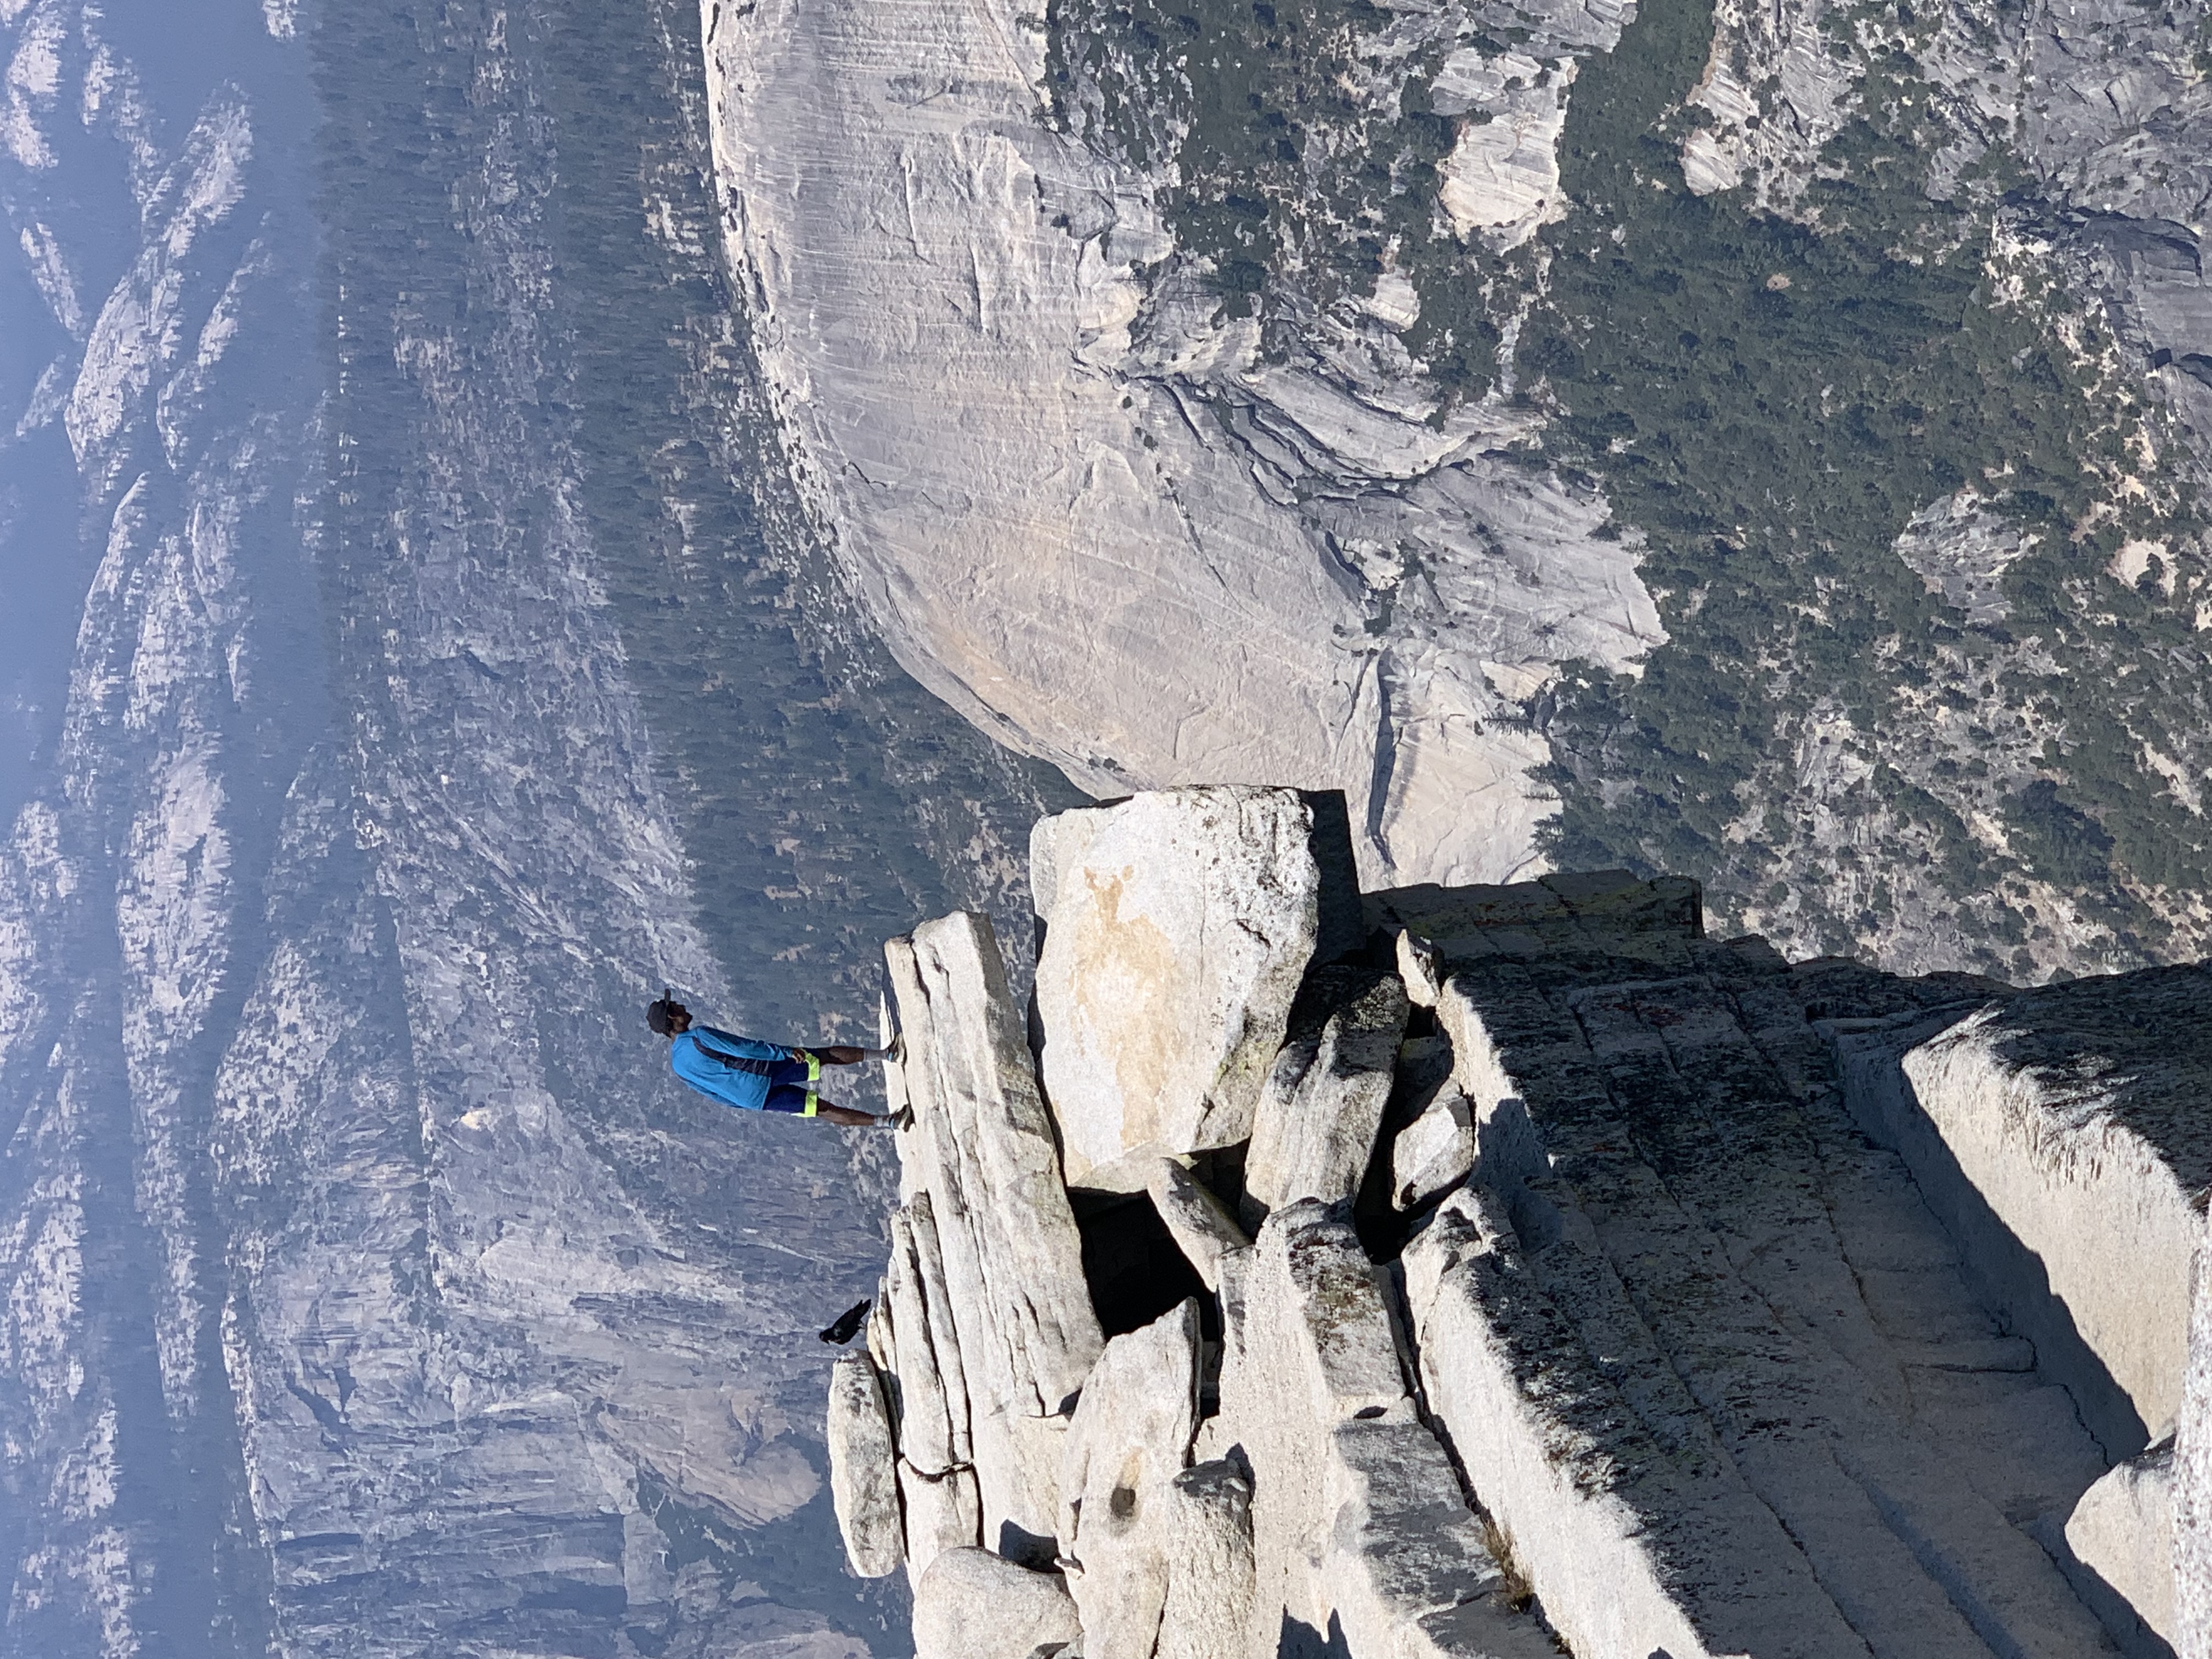
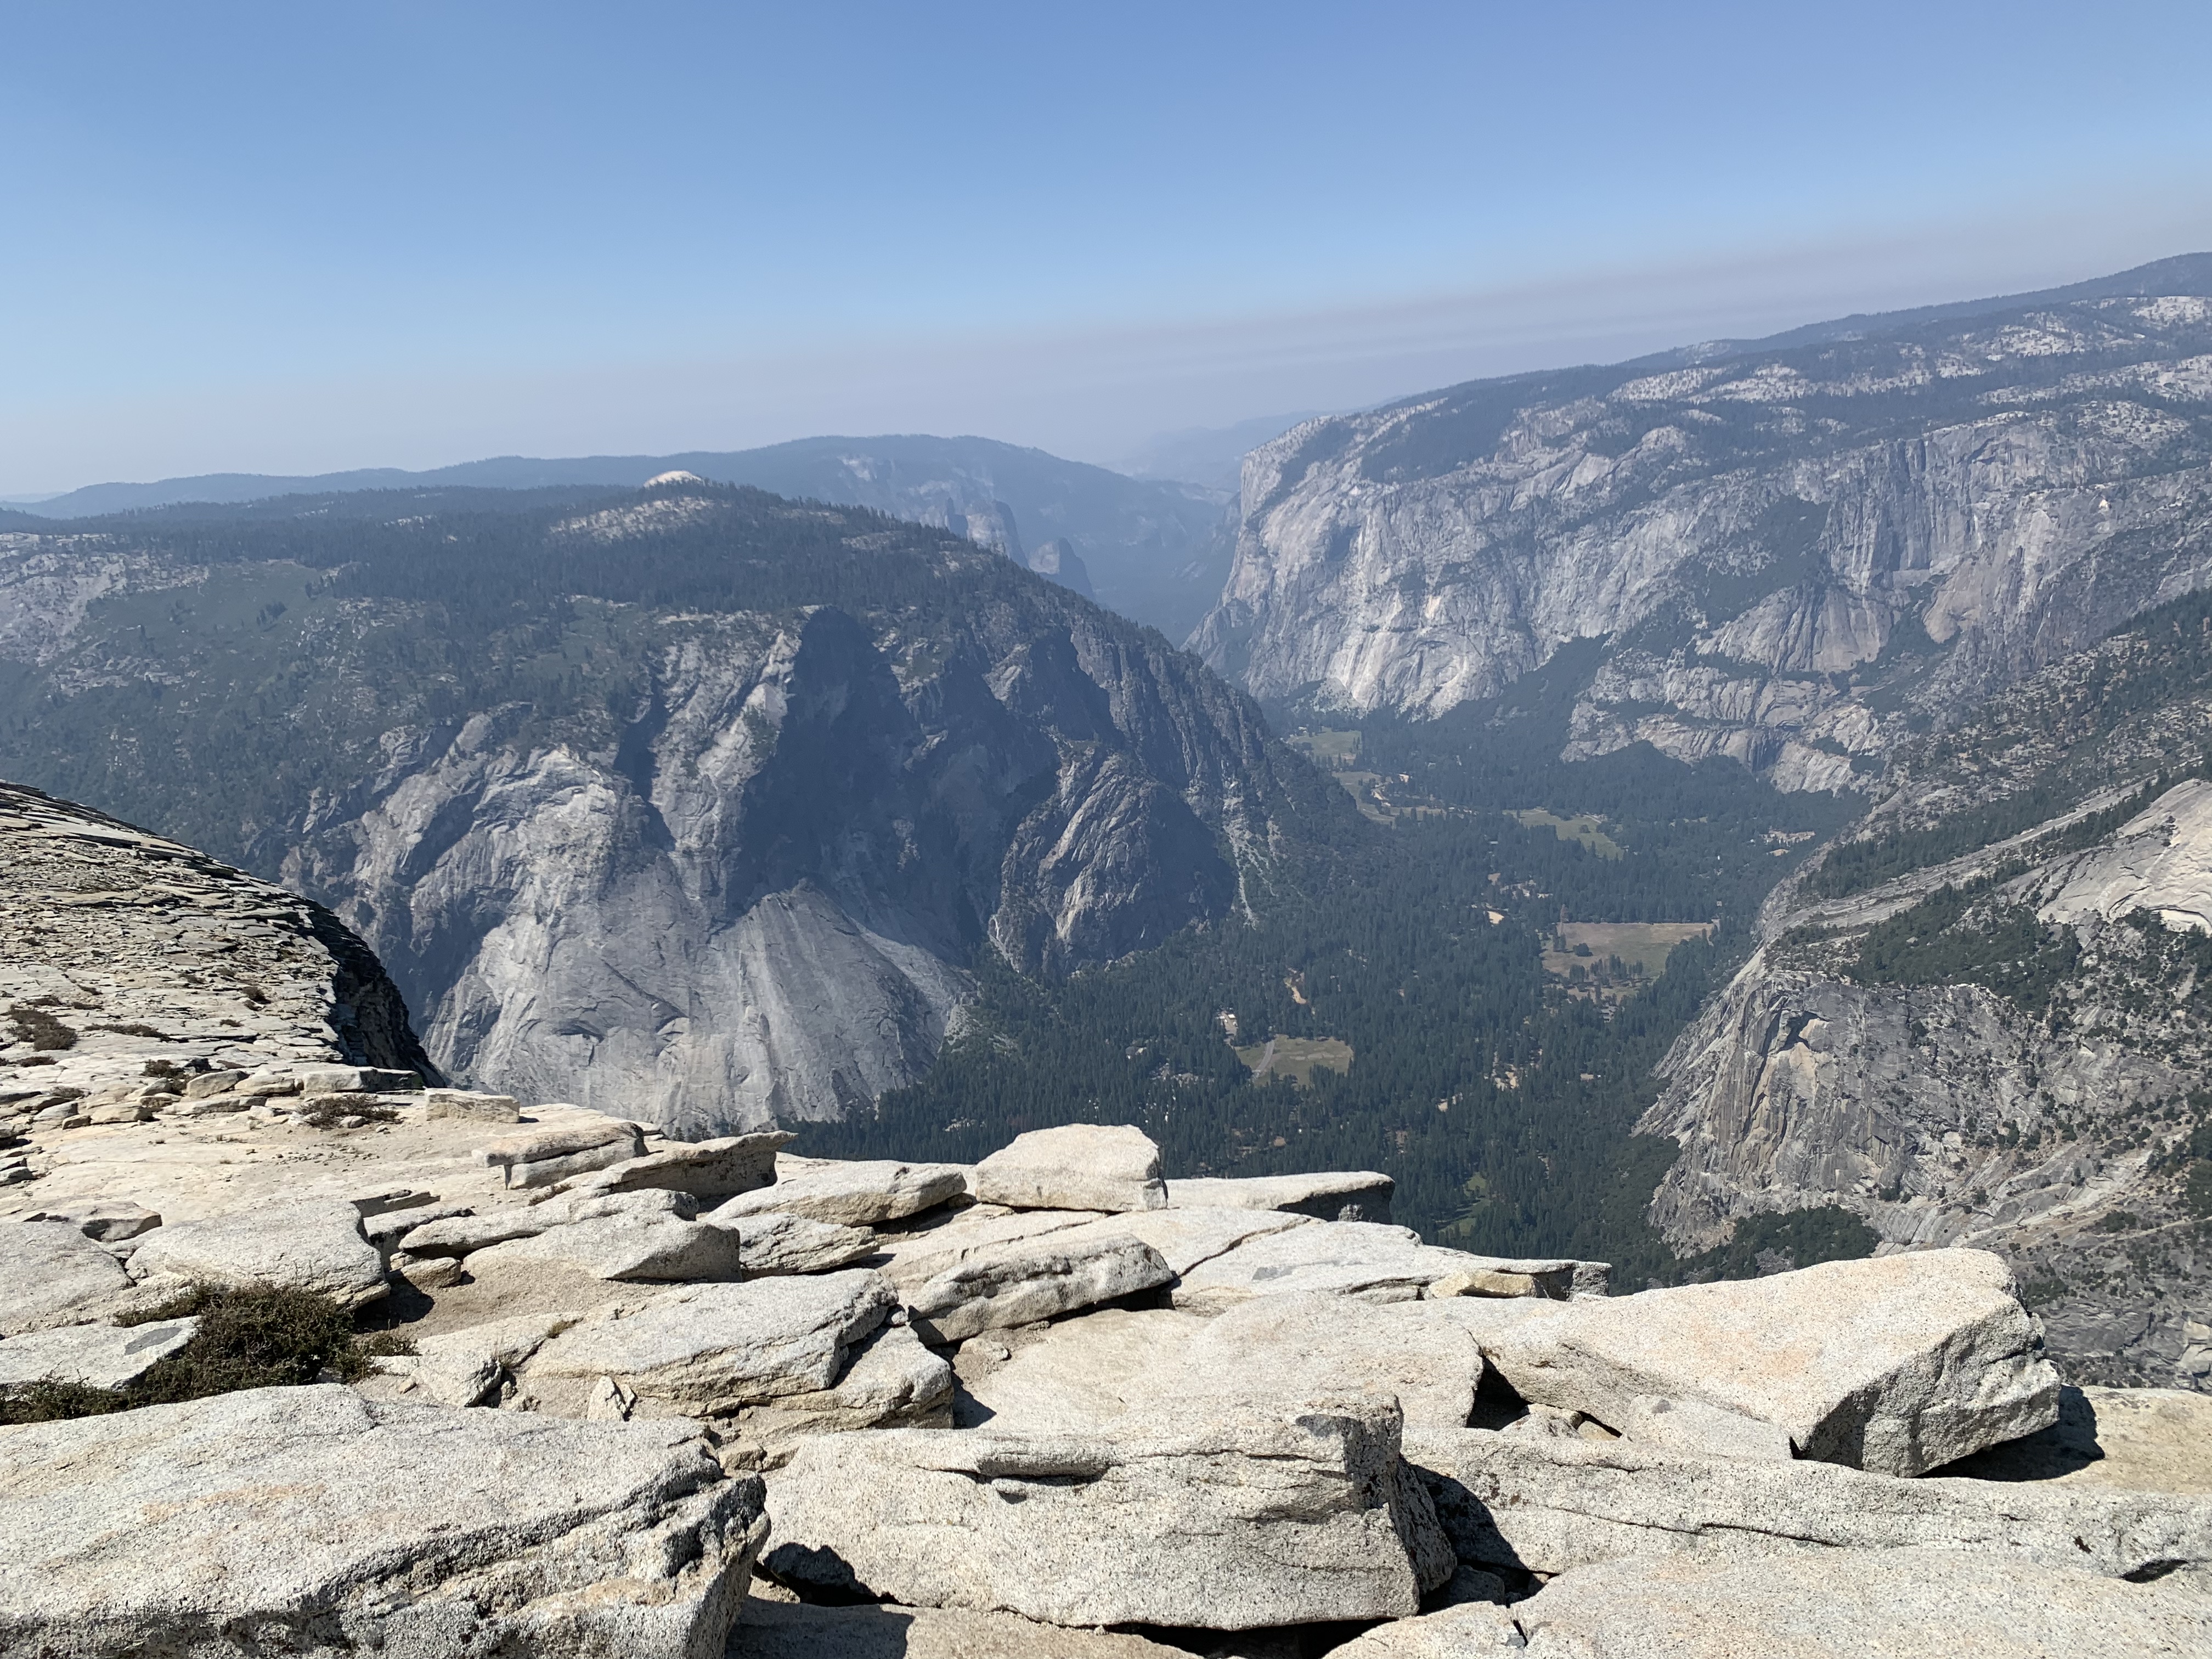
The 360 degrees view from the top was just mind blowing on that beautiful sunny day with no threats of rains or thunderstorms. We spent the next hour taking as many pictures as we could to treasure the memories and just absorbing the sheer beauty of the serene surroundings of the Yosemite valley.
I was more worried about the descending part but it was not so bad and required less effort compared to going up. You can choose to descend facing forward or facing the rock down and the latter worked better for me. It took about the same time as it took to go up and there were lot more people while descending. Be patient on the cables to let others pass if they need to.
We continued our hike back down with renewed energy from successfully climbing the dome. We made sure to take frequent breaks including some time to soak our tired feet in Merced river. When we reached the top of Nevada Falls, some of us chose to head back on John Muir Trail loop which is longer by 1.5 mi and little less strenuous but provided amazing views of Nevada Falls and had better access to Merced river to chill out.
At a certain junction, the John Muir trail forks into two, one towards the Yosemite Valley and the other towards Vernal Falls. You can choose the Vernal Falls trail to get a view of the falls in day light but be warned that it is a bit more strenuous as you need to climb down all those granite steps when your tired legs are ready to give up.
Feeling thankful that everyone made it safe back to the trailhead, we all ended up at The Deck in Curry Village to savor the warm and cheesy pizza and call it a day!
And finally, don’t forget to splurge on some souvenirs from the Curry Village gift shop while you are there!
Training for Half Dome hike
STAIRS, STAIRS, and more STAIRS! With so many stairs on the Mist Trail and Sub Dome, it would definitely help to incorporate stair hikes / climbing stairs in your training. If you live in SF bay area, you don’t have to drive far to access some of these staircase hikes while enjoying beautiful views. There are some popular ones in Berkeley area also.
Bay Area trails – There are many trails in the bay area around 5000 feet elevation to practice and here I have listed some which I found useful.
Mission Peak loop from Stanford Staging area (5.8 miles, 2135 feet elevation gain)
Mission Peak loop from Ohlone College (7.3 miles, 2145 feet elevation gain)
A bay area favorite, the above two could be combined and done back to back for added endurance
Black Mountain in Rancho San Antonio Open Space Preserve (11.2 miles, 3146 feet elevation gain)
Mt Diablo summit via Mitchell Canyon loop (13.0 miles, 3822 feet elevation gain)
Apart from doing regular hikes, try to work on upper body strengthening as they come in handy when you have to pull yourself up the cables.
Gear and what to bring on the hike
Ten essentials – To start with, make sure to carry the ten essentials needed for hiking like sunscreen, hat, whistle, and first aid kit.
Daypack – Any daypack with space for hydration bladder and a waist belt for support would work well. Osprey Talon/Tempest is my goto pack for long hikes.
Hydration bladder – I carried a Camelbak Crux hydration reservoir 3L and two half liter bottles filled with electrolytes. At the entrance of the trail, the park service sign recommended carrying 4L for the entire hike. There are options to refill along the way.
Water filter – This is to refill water from the streams along the trail. The no fuss Sawyer mini filters are lightweight and compact.
Poles – The lightweight and foldable Blackdiamond trekking poles really helped me on this strenuous hike. The poles cannot be used on the cable route of the hike and need to be secured to your packs to avoid from falling down.
Gloves – The gloves are highly recommended for grip and comfort to hold on to the cable ropes to pull yourself up. The Atlas 370 Nitrile gloves does the job perfect.
Hiking/trail running shoes – The type of shoes you wear is very important especially for ascending the dome. Any shoe with good traction support should work well. I used my Hoka Speedgoat with toe cushions and Smartwool socks to keep my feet dry and stay blister free. Bring some vaseline and a couple of extra pairs of socks for the much needed comfort they provide when you switch to a fresh pair during your hike.
Headlamps – Many start this hike early in the morning before sunrise to summit before noon and it’s an absolute must to have a headlamp to navigate the trail in the dark. I like the Petzl lamps that come in different models and it’s good to go with one where you can change the batteries and yes, don’t forget to pack the batteries as well.
Mosquito head nets – These were quite useful especially in summer next to the falls and streams and it helped not having to constantly shoo away the bugs while carrying the poles at the same time.
Phone/chargers – Most of us use our GPS in phones to navigate the trail and of course to capture the memories. So good to carry a power bank/solar charger for the charge in your phone to last for the entire duration of your hike.
Maps/GPS – I downloaded All Trails Half Dome Trail map and it was just perfect. It’s extremely important to have the maps downloaded and have it ready for offline use because you may not have the internet connection at all times.
Clothing – For a summer hike, a lightweight jacket or windbreaker like Patagonia Houdini would do good even though the chances are that you may not use it. Normal trail attire is good for the rest of the clothing. I wore a moisture wicking long sleeved shirt with UV protection and packed a short sleeved one in case if it gets too hot. Check the weather and dress accordingly.
Miscellaneous – Wet wipes, sanitizer, bandana/neck gaiters. In addition, I would pack a small hand towel, which helped to dry off the feet after soaking in the streams.
Tip: Pack travel size items if possible to reduce the weight you carry. e.g. sunscreen, sanitizer, wet wipes
Food/snacks – I planned on consuming something every hour of the hike. It’s important to not try anything new on the trail for the first time. The food choice greatly depends on the individual’s preference. So practice during your training hikes to see what works for you. It’s important you carry at least 2L to 3L from Backpacker’s Camp all the way up to the dome and back because there are no good water sources after that point.
Some of the items I packed are GU gels, Justin’s Almond butter, Starburst/M&Ms, a few lemon and ginger candies, a fruit, bagel sandwich, rotis/tortillas, trail mix, energy bars, and Cliff Bloks.
Electrolytes – Gatorade, Vita Coco coconut water, Liquid I.V., Salt Stiks
Useful links
These are some of the links that you may find useful in planning this hike.
Applying Half Dome permits
Hiking Half Dome video
Surviving the cables at Half Dome
Follow the outdoor etiquettes and please do not leave any trash on the trail including biodegradable wastes.
This is a very beautiful trail and I had hiked the Mist trail segment of it quite a few times which doesn’t require any permit. Permit is required only for the cables. Climbing the dome could be intimidating to anyone. This is definitely not something you should take lightly and if you plan to do this hike, educate yourself as much as you could before you attempt this climb!
Check out my other blogs at Trails and Summits. Happy Hiking!!
Such a detailed and well written write-up, Anitha! Thanks for including all the helpful links as well. Looking forward to reading about your next experience!
Thanks Kavita. Had fun doing with you all!
Comments are closed.